Bokashi Composting: What to Do With the Bucket’s Contents
A full bokashi bucket contains fermented scraps, not finished compost. After the sealed rest—usually about two weeks, or longer in cool conditions—the contents still need to break down in soil or another composting system; don’t tip them into a planting pot.
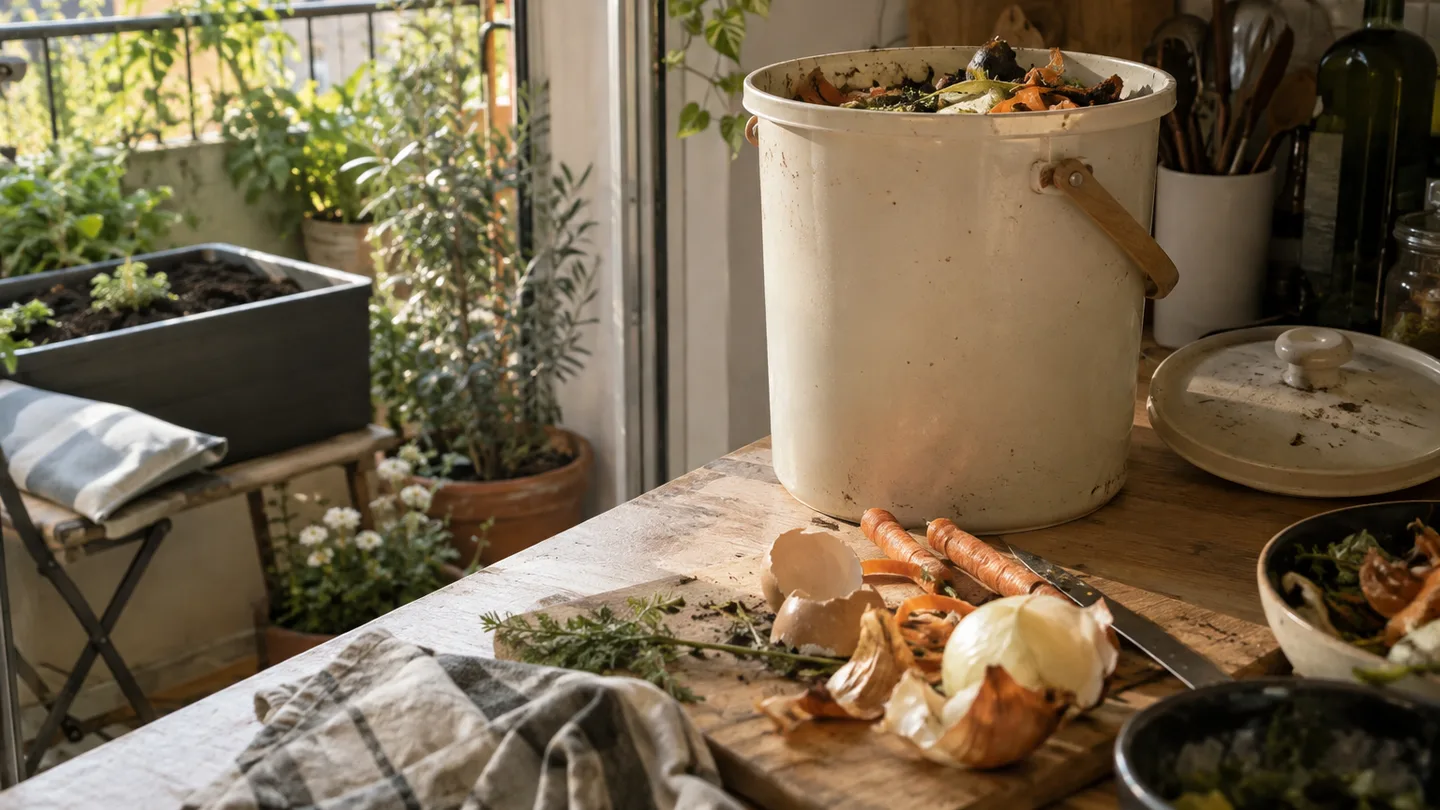
The useful question isn’t just “Where can I put this?” It’s “Which place can safely finish it without disturbing growing roots, attracting pests, or turning my balcony into a sour-smelling corner?” I’d choose the finishing route before opening the bucket. Once exposed, the scraps are easier to manage if you already know where they’re going.
Before you empty it: fermented isn’t finished compost
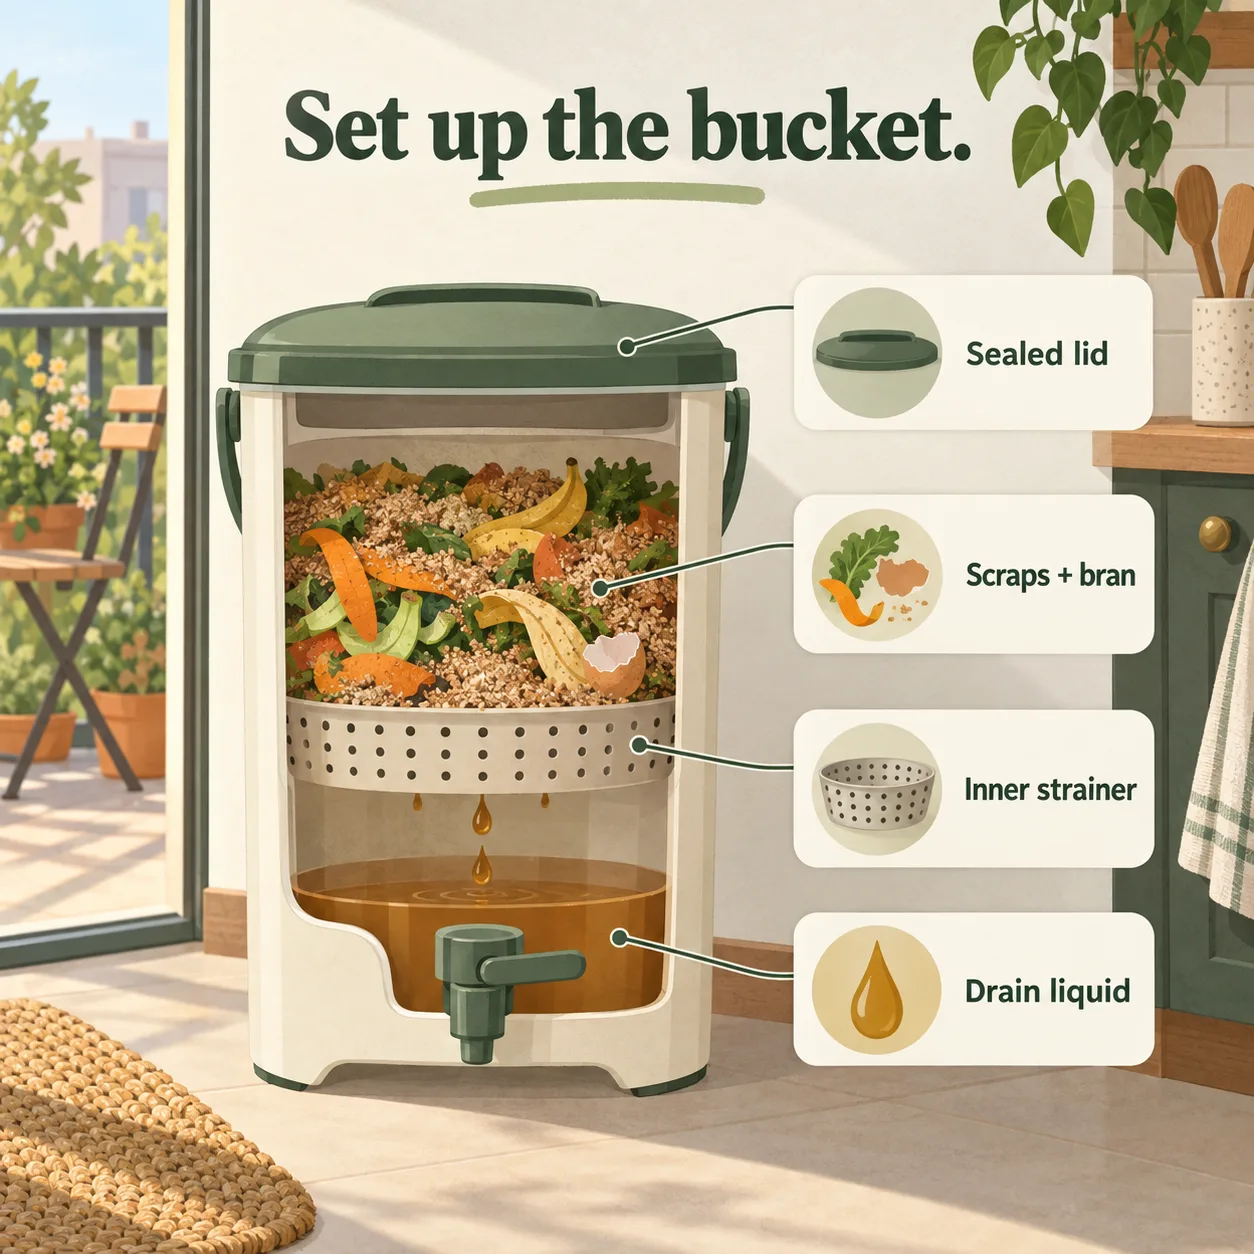
Bokashi is a fermentation step. The sealed bucket holds food scraps that have been fermented with a starter; it doesn’t turn them into the dark, crumbly material most people mean by finished compost. The scraps still need time in soil, a compost pile, or another suitable system to break down. Think of the bucket as a way to prepare the food waste for that next stage, not as a pot of ready-to-use fertilizer.
After the bucket is full, leave it sealed for about two weeks as a starting point. In a cool room or cold season, the process may take longer, so follow the starter maker’s handling instructions if they give a different rest period. Avoid opening it repeatedly to check. Each opening interrupts the sealed conditions the fermentation depends on, and it doesn’t make the contents finish faster.
A sharp, sour or pickled smell can be consistent with fermented scraps. A strongly foul, rotten smell is a warning that the batch may not have fermented as intended, though smell alone can’t diagnose exactly what happened. Check for obvious signs of contamination and ask the starter maker for batch-specific advice if you’re unsure. Don’t try to disguise a bad smell by burying the contents in a pot beside edible plants.
If liquid has collected at the bottom, drain it separately before moving the solids. It’s not a sign that the scraps are finished, and it shouldn’t be assumed to be a ready-made feed just because it came from a composting bucket. Follow the starter instructions for handling or disposal. Bokashi liquid is not automatically the same thing as compost tea; our guide to compost tea for plants covers why a liquid plant product needs to be treated as its own thing.
My practical rule is to keep the fresh contents out of the root zone of anything currently growing. A pot is a small, contained environment: there’s little room to move the scraps away from roots if the mix stays wet, smells unpleasant, or hasn’t broken down. Finish the material somewhere separate, then decide whether the resulting mix is appropriate for a future planting. That separation is less convenient than tipping it into a pot, but it gives you a way to inspect the material before you ask a plant to grow in it.
Have a bed? Bury the batch with 6–8 inches of soil above it
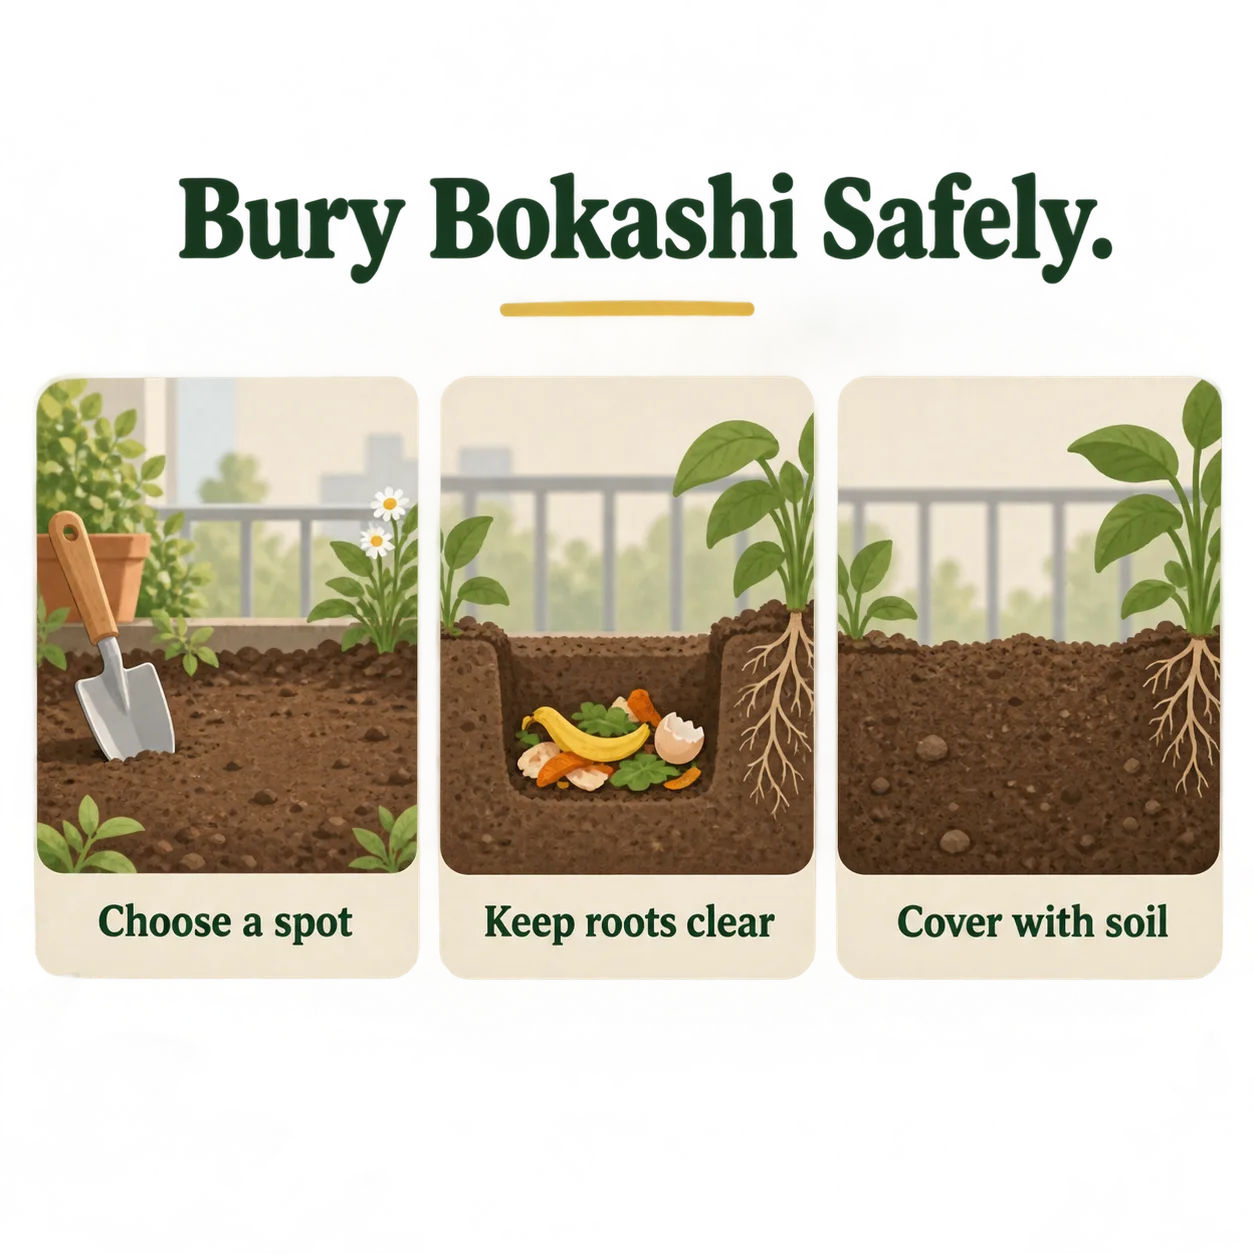
For an unplanted garden bed or a suitable raised bed, burial is a straightforward finishing route. Dig a trench or hole deep enough that you can cover the bokashi layer with roughly 6–8 inches (15–20 cm) of soil. Empty the scraps, spread them in a fairly even layer rather than leaving a tall mound, and cover them fully. The soil cap separates the fresh material from the surface and gives the batch soil around it as it continues to break down.
Work out the hole depth from the thickness of the scraps, not just the depth of your spade. If your bokashi layer is about 3 inches (8 cm) thick and you want 6–8 inches (15–20 cm) of soil above it, the hole needs to be about 9–11 inches (23–28 cm) deep. That’s a useful check before you start digging: if your bed is only 12 inches (30 cm) deep, that example leaves little soil beneath the material. A shallow bed may not give you enough room to bury the batch without putting it close to roots or the bed’s bottom.
Keep the burial spot away from active roots. In an empty bed, that may mean choosing a corner you won’t plant immediately. In a bed that’s already growing, roots can extend beyond the visible stems, so don’t assume the bare patch between two plants is root-free. If you can’t dig without cutting through established roots, choose a tote or another route instead of forcing the burial method.
For a concrete example, imagine a raised bed that is 18 inches (46 cm) deep and currently empty. A 3-inch (8 cm) layer of bokashi covered by 6–8 inches (15–20 cm) of soil fits more comfortably than the same layer in a shallow planter. You’d still leave soil below the scraps, cover the batch completely, and mark the spot so you don’t accidentally dig into it the next day. If the bed is planted, or its usable depth is much less than the hole your calculation calls for, the dimensions have changed the decision: use a separate finishing place.
In warm, workable soil, allow roughly 2–4 weeks before checking; cold soil can stretch that wait. Treat the calendar as a prompt to inspect, not a planting deadline. At the edge of the buried patch, loosen a little soil and look at the scraps. If they’re still easy to recognize as separate food pieces or the spot has a strong fermented smell, cover it again and give it more time. If the material has mostly blended into the soil and the strong smell has faded, it’s further along. That’s a practical readiness check, not a laboratory test or a guarantee that every piece has decomposed evenly.
Before planting in that exact spot, check again rather than planting by the date on your calendar. If you uncover recognizable scraps, move them back under soil and wait. If the bed is needed sooner, plant elsewhere and leave the patch alone. Bokashi is a poor reason to rush a planting: seedlings and established plants need a suitable root zone, not a shortcut that hides unfinished material just below them.
Growing on a balcony? Make a separate soil-factory tote
If your garden is a balcony, patio, or rooftop, a separate tote can provide the soil contact that an in-ground bed would otherwise offer. Use a lidded container reserved for finishing scraps, not one of the pots holding herbs or vegetables you’re harvesting. Set it somewhere you can contain any liquid and check it without having to move a heavy, wet container across a crowded balcony.
As a starting blend, combine bokashi and soil at about 1:1 by volume: one loose container of scraps to one equal container of soil. Don’t pack either measure down. If the scraps look very wet or remain exposed at the surface, add more soil until they’re covered. The aim isn’t to hit a magic ratio; it’s to surround the fermented material with enough soil to mix and inspect it while avoiding a saturated mass.
Think through drainage before filling the tote. A container that traps a pool of liquid around food scraps can become unpleasant to handle, while uncontained drainage can leak onto a neighbor’s balcony or the floor below. Choose a setup that catches liquid, empty it according to the starter instructions, and don’t leave the mix standing in a puddle. If you use a container with drainage holes, place it inside a catch tray or outer tub that can safely contain what drains out.
Layer the materials so the scraps are surrounded and covered, then put the lid on. Check occasionally rather than stirring it every day. If the top dries while the center is wet, add a little soil over exposed pieces and avoid pouring in water just to make the whole tote uniformly damp. If the mixture smells strongly fermented, looks waterlogged, or has liquid collecting beneath it, pause adding material and deal with the excess before continuing. You want a manageable finishing mix, not a sealed bucket of soggy scraps.
Expect to wait several weeks or longer, depending on temperature and how the materials are mixed. A small tote on a cold balcony may take longer than one kept in mild conditions. Use visible cues rather than a fixed promise: the scraps should be largely unrecognizable, and the mix should no longer have a strong fermented smell. A few stubborn pieces mean it needs more time. Don’t treat the contents as ready potting mix while obvious scraps remain.
Here’s the decision I’d make with a full bucket and only balcony space: I’d rather keep one tote set aside for finishing than stir fresh bokashi through a productive basil or tomato pot. That tote takes up room, but it keeps unfinished material apart from active roots and lets me check its condition before reusing it. Once the material has broken down, it still needs to suit the plant and container you plan to use; finished organic matter isn’t automatically a complete growing mix. If you’re moving it into a container crop, our guide to how often to fertilize container plants can help you plan feeding separately.
No bed or tote space? Choose a compost route that accepts it
A full bucket doesn’t leave you with just two choices. An established compost pile, a worm bin, a municipal organics program, or a temporary hold can work, but each has a different condition attached. Use this quick route check before you open the bucket:
| Route | Best fit | First move |
|---|---|---|
| Bury | Unplanted bed with enough depth | Leave 6–8 in (15–20 cm) of soil above the scraps |
| Soil-factory tote | Balcony or patio with space for a separate container | Start with roughly equal loose volumes of scraps and soil |
| Pile, worm bin, or municipal collection | A system that accepts bokashi and can manage its moisture and contents | Check its instructions or accepted-material list first |
| Temporary hold | No immediate route is available | Keep the contents sealed and cool while arranging the next step |
For an outdoor compost pile, put the bokashi in the centre and cover it thoroughly with dry, carbon-rich material such as dry leaves or shredded untreated cardboard. The dry cover helps absorb moisture and keeps the fresh scraps from sitting exposed at the surface. A large, actively managed pile has more material around the addition than a small, neglected heap does. If your pile is small, cold, or rarely tended, meat, dairy, and oily scraps may be a poor fit: the pile may not have enough surrounding material or management to contain moisture and odor comfortably.
Be conservative with a worm bin. Check the bin maker’s guidance before adding bokashi, then introduce a small amount beneath the bedding instead of tipping in a whole bucket. Fermented scraps are usually acidic, and a large wet addition can crowd air out of the bedding. That’s why a small first portion is the sensible test: watch for persistent odor, excess wetness, or worms avoiding the area before you decide whether to add more. If the bin looks unsettled, stop adding bokashi and follow the system’s troubleshooting guidance.
For municipal collection, check the accepted-material list for your actual program. Don’t assume that a food-scrap service accepts fermented contents just because it accepts kitchen scraps; collection rules differ, and some programs specify how food waste must be prepared. Search your city or hauler’s current guidance, or contact the service directly if the list is unclear. The phrase local organics program’s accepted-material list is the detail to look for, not a general claim that all food-scrap collections take bokashi.
If none of those routes is available today, keep the bucket sealed in a cool place while you arrange one. If you have freezer space, freezing a smaller sealed portion is a practical temporary way to slow further activity and odor; it doesn’t finish the scraps, so it only buys time. If you can’t store the material safely, follow your local residual-waste instructions rather than scattering fresh contents over a bed or mixing them into an active pot.
This week, choose the route and check the one detail that decides whether it will work: measure the usable depth of an empty bed, clear a separate spot for a tote, or look up your collection service’s accepted-material list before you open the bucket.