How to Clean Terracotta Pots: Remove White Mineral Buildup
A white mineral ring usually comes off a sound, uncoated terracotta pot with a dry brush, a brief soak in equal parts white vinegar and water, and a thorough rinse. Start with 15–30 minutes, then check the clay; the time is a starting point, not a promise that every crust will disappear.
This is a cleaning guide and a short troubleshooting piece, because the right method depends on what the white mark is and whether the pot’s surface is intact. The goal isn’t showroom-new clay. It’s a pot that is clean enough for its next use and still sound.
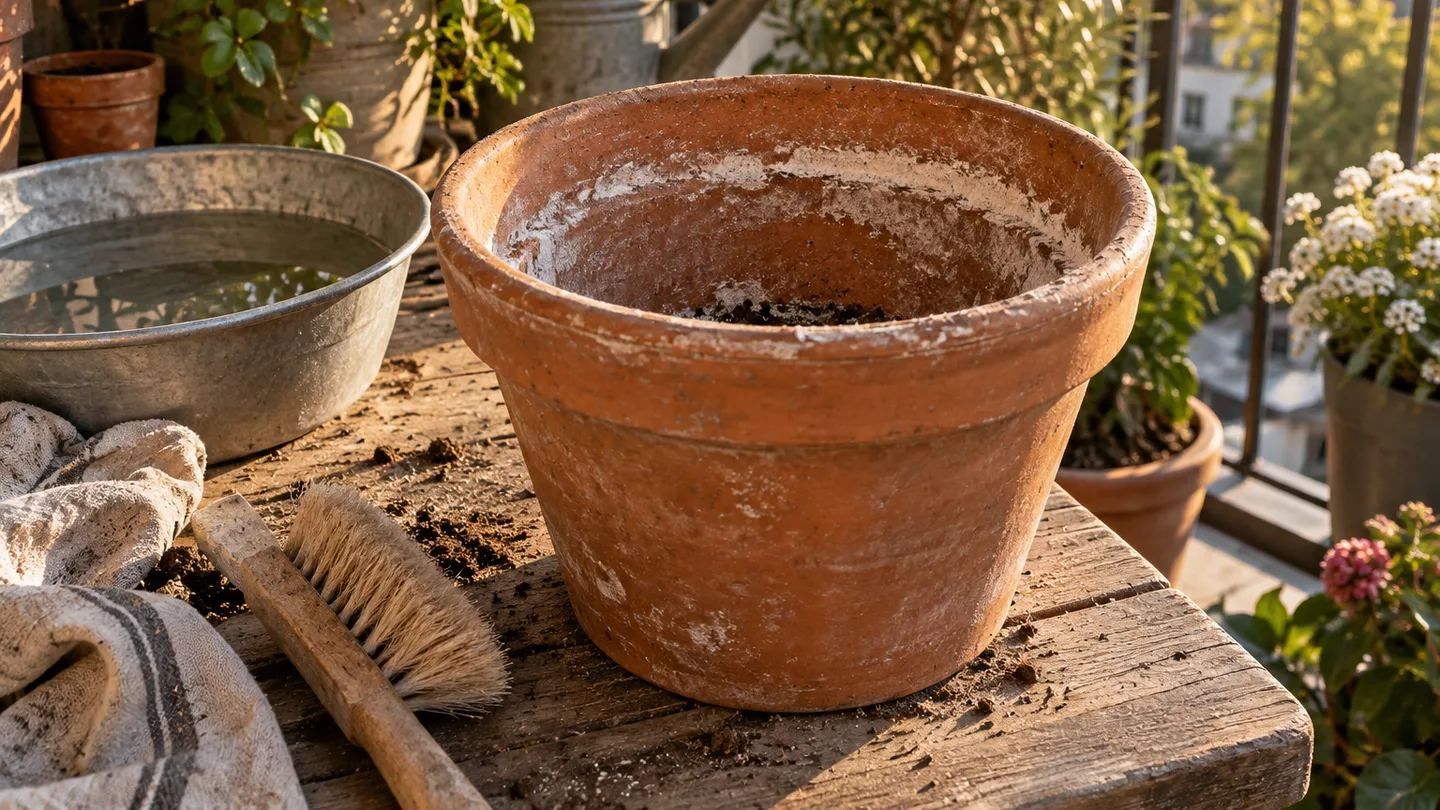
How to clean terracotta pots: identify the white crust first
White residue on terracotta pots is often a dry, chalky deposit left as water evaporates through the clay. Fertilizer salts can contribute, too. But appearance alone can’t tell you exactly which minerals are present, so treat “mineral buildup” as a useful description rather than a lab diagnosis.
Look closely before reaching for vinegar. A hard or powdery crust is different from green algae, which often looks like a film, and from fuzzy growth, which may brush away differently. A pale patch that is part of the clay itself won’t lift like a deposit. White buildup by itself doesn’t mean the pot is unsafe or unusable.
If you can’t tell whether the mark sits on the surface, start with a dry nylon brush on a small area. If the clay comes away with it, stop. That’s a surface or structural problem, not a cleaning challenge.
Why porous clay develops a white ring
Terracotta lets water move through its porous walls. Water carrying dissolved minerals or fertilizer salts can travel toward the outer surface; when the water evaporates, some of those dissolved materials remain behind. Repeated wetting and drying can make a light mark build into a crust.
The location gives you a clue, not a verdict. A ring near the usual soil line may reflect repeated moisture there; crust around the outside can also follow where water has evaporated. Tap-water mineral content, feeding, watering habits, and the pot’s exposure all affect what you see. A mark alone can’t identify one cause with certainty.
That’s why cleaning can be temporary. If the same water continues to move through the same clay and evaporate, the deposit can return.
Before you scrub: empty the pot and protect the planting area
When practical, remove the plant and potting mix before soaking the pot. Work outside or over a surface you can rinse, and keep vinegar and loosened residue away from roots and foliage. An empty pot is easier to turn, scrub, rinse, and inspect.
If a plant is still growing in the pot and can’t be moved, don’t pour vinegar solution over the soil or soak the container. Limit the job to wiping the exposed outside with a damp cloth or brushing away loose material gently. That won’t remove deposits inside the pot, but it avoids deliberately sending an acidic cleaner into the root zone.
Set out a stiff nylon brush, clean water, and a basin or sink you can rinse afterward. Don’t use a food-preparation bowl for the job. If you’re deciding whether to reuse the mix as well as the pot, see the site guide can you reuse potting soil; cleaning a container and assessing old growing medium are separate decisions.
Start dry: brush away what does not need a soak
Let clinging soil dry, then brush loose soil and flakes from the pot before wetting it. Use a stiff nylon brush and work over a surface where the dust won’t blow onto nearby plants. Avoid breathing the dust; move the pot outdoors or keep your face out of the brushing path.
Dry brushing matters because it removes material that water would turn into muddy residue and lets you see what is actually stuck to the clay. It also makes the later scrub more targeted: you can focus on the remaining crust instead of pushing grit around the whole pot.
Don’t try to make the clay pale and uniform at this stage. The aim is to remove loose material without grinding the pot’s surface down.
The vinegar bath: equal parts vinegar and water for 15–30 minutes
For a sound, uncoated pot with stubborn crust, mix equal volumes of white vinegar and water. Test a small area first. If the surface looks unchanged, soak the empty pot for 15–30 minutes, then check whether the deposit has softened before scrubbing.
The short soak gives the acidic solution time to contact the deposit; checking before you extend it keeps you from treating a starting range as a guaranteed recipe. If the crust still feels hard, scrub gently and reassess. Don’t soak painted, sealed, glazed, cracked, or flaking surfaces in this mixture. Their coatings or weak spots may respond differently from bare, sound clay.
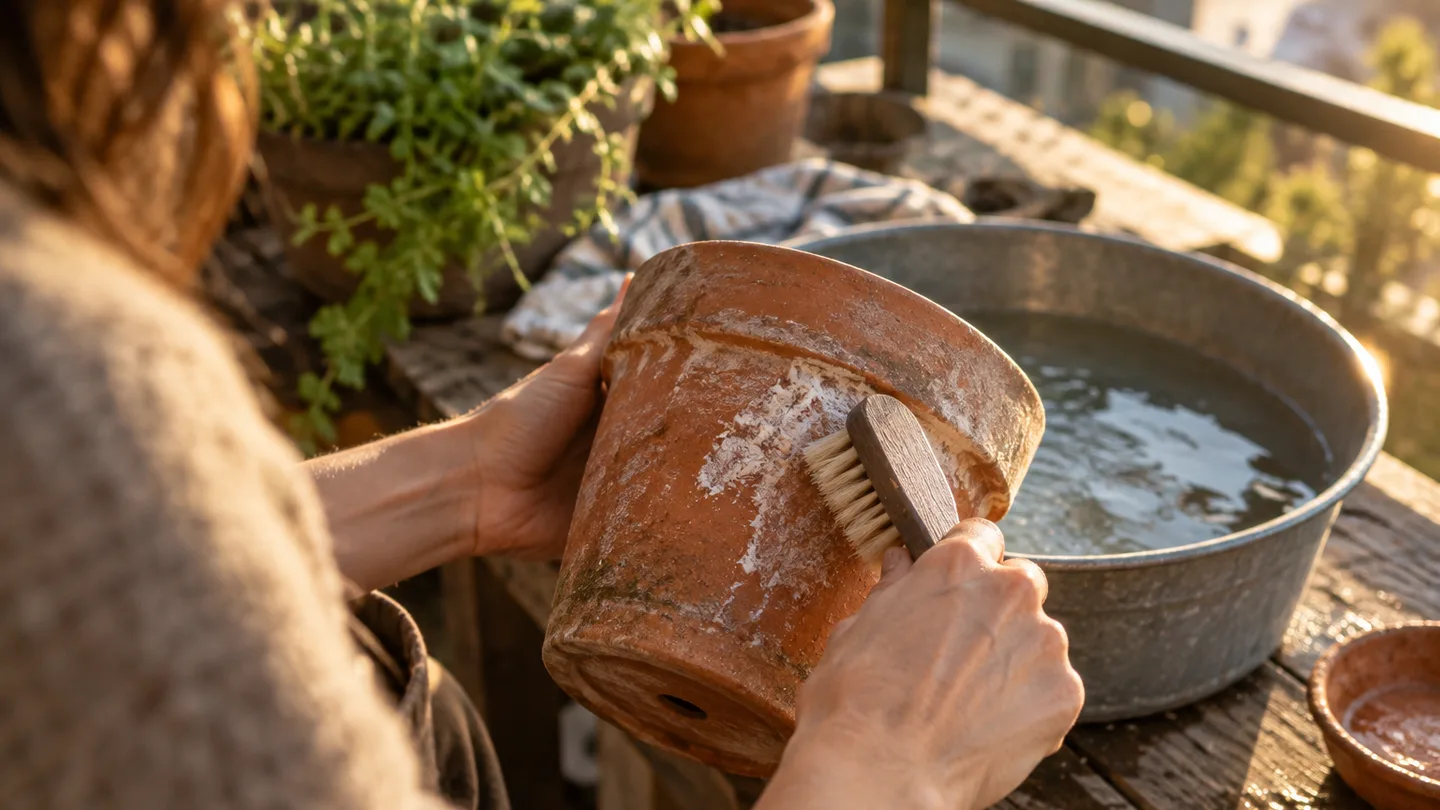
If the pot has a finish you can’t identify, skip the vinegar and use water with a soft brush. A clean-looking result isn’t worth lifting a coating you meant to preserve.
A thick crust needs repeat short soaks, not an overnight acid bath
If a first soak doesn’t release the crust, scrub, rinse, and inspect the pot before deciding what comes next. If the clay remains sound and the deposit is still attached, another short cycle is a more controlled next step than leaving the pot in acid indefinitely.
There’s a practical reason for that sequence: brushing reveals whether the deposit has loosened, and rinsing clears the dissolved material before you judge what remains. A stain may stay even after the raised crust is gone. Some discoloration is cosmetic, and more soaking may not make the clay uniform.
My preference is to stop when the loose crust is gone and the pot is intact. Chasing a perfect color can turn a useful cleaning job into needless wear.
Choose nylon over wire; stop if the clay starts to flake
A stiff nylon brush gives you friction without the hard metal edge of a wire brush or scraper. Use light pressure first, then increase only if the surface stays intact. Avoid aggressive abrasives that gouge the clay or remove a coating along with the deposit.
Stop if the pot sheds clay, develops fresh flakes, or reveals a deep crack while you work. Those are signs that scrubbing is taking material from the pot itself or that the pot may not be sound enough to reuse. Don’t keep escalating the tool to force a spotless finish.
A faint stain and active flaking aren’t the same problem. The first may be acceptable; the second is a reason to pause and reassess the pot.
Rinse away both the loosened salts and the vinegar
After brushing, rinse the pot under clean running water or in a basin of clean water. If you use a basin, change the water when it becomes cloudy rather than returning the pot to the same dirty rinse. Turn the pot so water reaches the inside, outside, rim, and base.
Check that you can’t see loose residue and that no vinegar smell remains. Then let the pot drain and dry fully before adding fresh mix. A dry pot is also easier to inspect: you can see whether the surface is still shedding and check the drainage holes in pots for blockage before replanting.
Don’t put a freshly rinsed pot straight back around roots if it still smells strongly of vinegar or has visible cleaner residue. Rinse again and let it drain.
Skip vinegar on coatings, cracks, and fragile old pots
Painted, glazed, or sealed pots call for a gentler approach: use water and a soft brush on an inconspicuous area first. If the finish lifts, softens, or changes, stop. For cracked or flaking clay, avoid soaking; the liquid can reach weak areas, and scrubbing may worsen existing damage.
With an old pot whose finish or condition is uncertain, conservatism is useful. A damp cloth may remove loose dirt without promising to remove every mark. If the pot continues to shed or a crack affects its stability, retire it from planting rather than forcing it clean.
Mineral marks don’t tell you whether a glaze or paint is suitable for contact with edible plants. If that matters for your use, check the maker’s information rather than guessing from appearance.
Mineral cleaning is not disinfection
Removing a white deposit doesn’t disinfect a pot, and mineral buildup alone isn’t a reason to disinfect it. If you’re reusing a pot after a known plant disease, follow suitable sanitation guidance or the label on a product intended for that job. Use its stated dilution and contact time; don’t improvise either from a vinegar-cleaning recipe.
Never combine vinegar with bleach or other cleaners. Mixing products can create hazardous reactions, and using one cleaner at a time avoids an unnecessary chemical risk. Rinse the pot and your tools before switching to a different cleaning product.
For additional guidance, consult university extension advice on cleaning and disinfecting reused plant containers. That’s a separate question from removing mineral crust, and the appropriate method depends on the sanitation task.
Reduce the next white ring by changing the water or feeding routine
If crust keeps returning, look at what passes through the pot. Where practical, try collected rainwater or another lower-mineral water source for a plant that tolerates it. Avoid applying more fertilizer than the plant needs; extra soluble material can travel with water and contribute to deposits. Don’t assume either change will eliminate the ring: the result depends on the water, feeding routine, pot, and conditions.
You can check local water-utility information about water hardness and mineral content if you want to understand your tap water. That gives context, not a diagnosis of the white material already on the pot. If you change water sources, keep the plant’s needs in view rather than making a change just to improve the pot’s appearance.
Light deposits are easier to brush off than a thick, established crust, so inspect the outside when you water or tidy the balcony. This isn’t a promise of a spotless pot. It’s a chance to catch buildup while a gentle cleaning still makes sense.
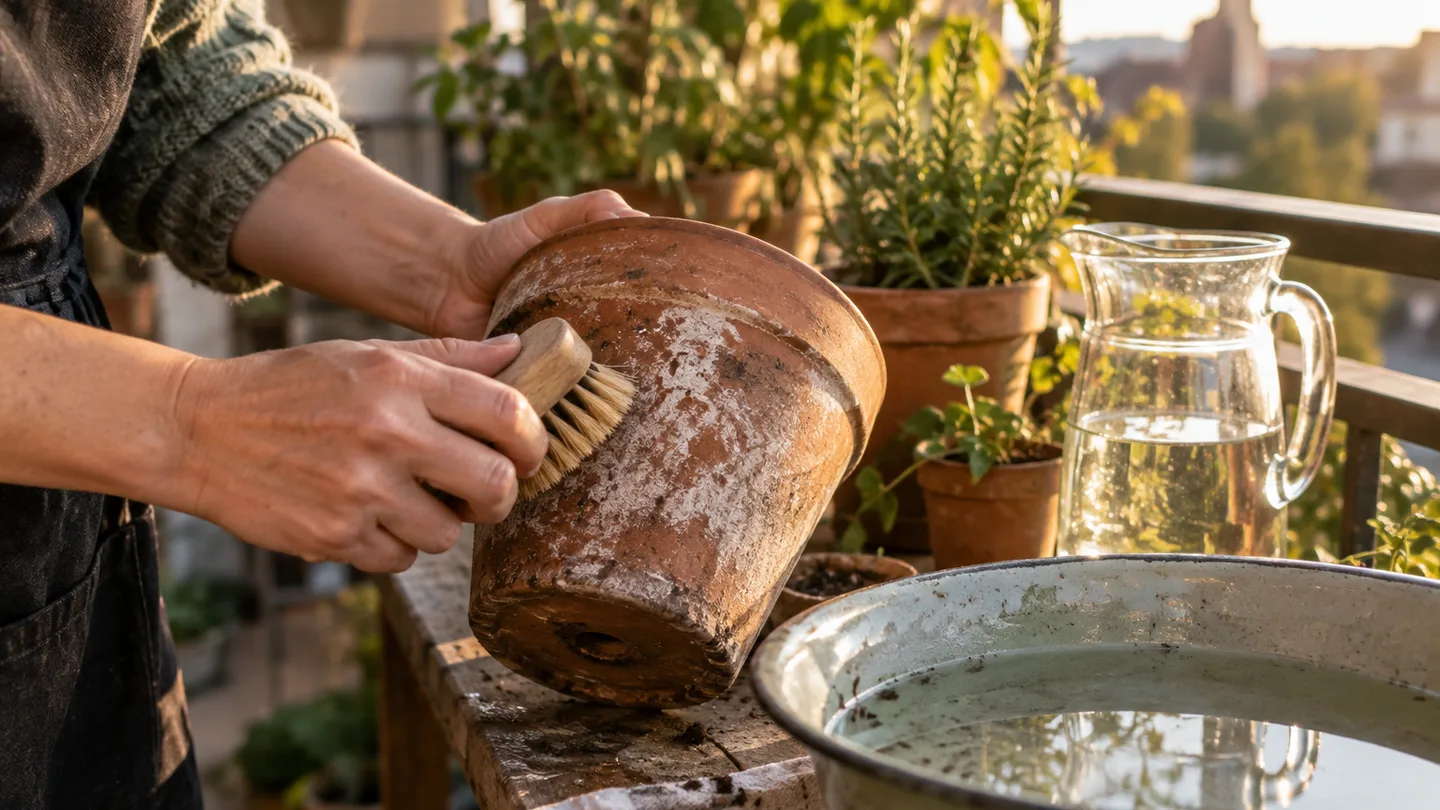
A spotless pot is optional; sound clay is the real finish line
Stop when loose crust is gone, the clay isn’t flaking, and the pot is structurally sound, even if a pale stain remains. A cosmetic mark is different from a crack that affects stability or material that keeps shedding. I’d rather reuse a sturdy pot with a faint ring than wear down sound clay in pursuit of a uniform color.
Before you add fresh mix, check the pot’s surface, rim, base, and drainage holes. If they’re sound and clear, let the pot dry completely and set it beside the mix you’ll use this week. If you find a deep crack or continuing flakes, choose another container instead.