Cold Stratification: Which Seeds Need It and for How Long
A packet that says “sow in fall” gives you a season, not a refrigerator timer. For seeds that do need cold stratification, the useful planning window can run from a few damp weeks to three months or longer; the seed’s own instructions should decide the actual duration.
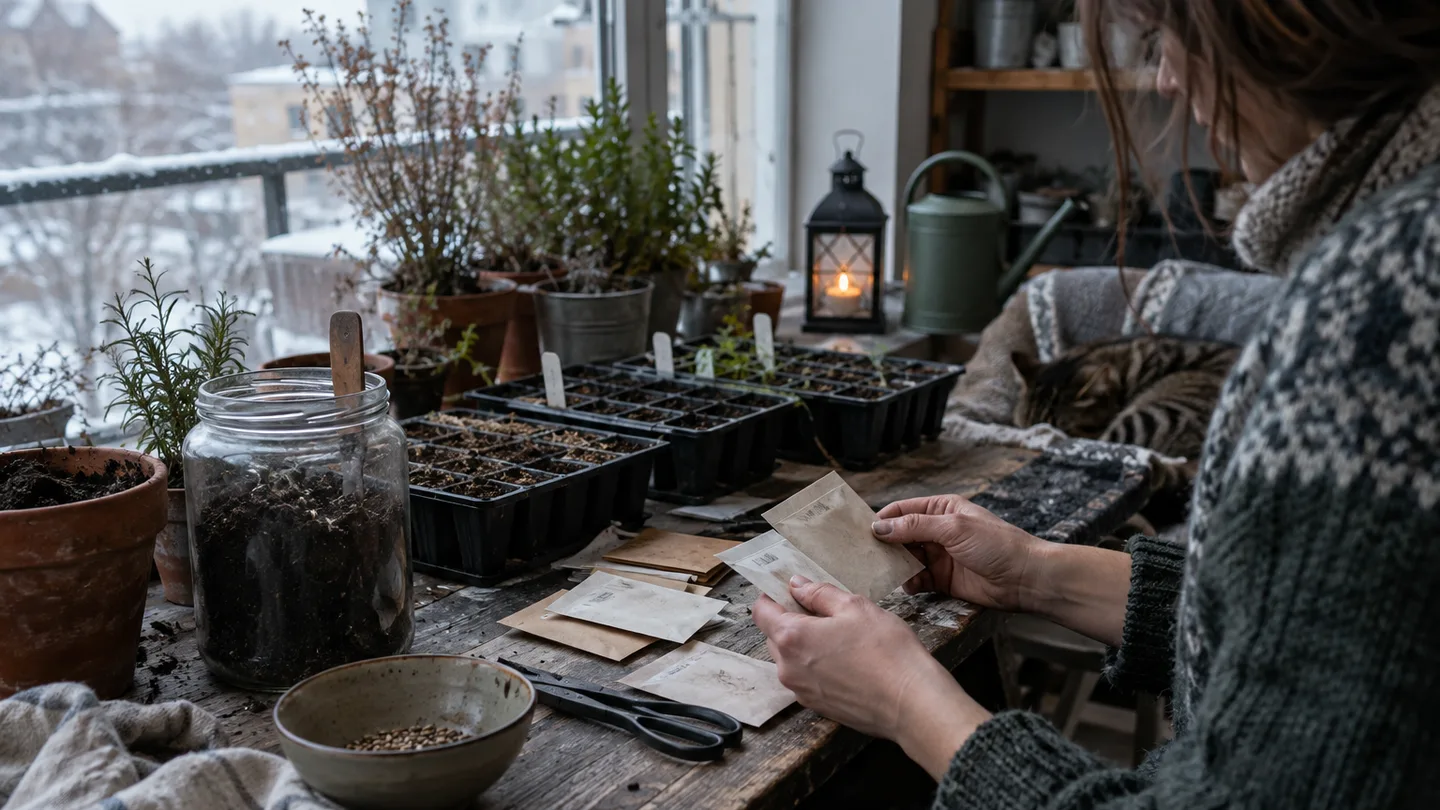
Cold stratification means keeping seeds cold and slightly moist so they experience a winter-like pause before sowing. It isn’t a general germination booster, and it can’t make a dead seed viable. I start with the packet or a species-specific growing protocol, then use the ranges below to spot whether I’m looking at a short chill, a longer one, or a treatment that needs another step first.
The packet is the first decision: not every seed needs a winter
Some seeds are ready to sprout when they have warmth, water and air. Others stay dormant until conditions suggest that winter has passed. For the latter group, moist chilling is a way to imitate that seasonal sequence: the seed takes up water while cold, then is moved to conditions where germination can begin.
That makes the distinction practical. Cold stratification is for a seed with a dormancy response that cold can help release, not for any seed that happens to be slow. Many temperate perennials and woody plants have seeds that may benefit from cold treatment. Warm-season vegetables such as beans and cucumbers generally aren’t seeds I’d put through a fridge treatment unless their packet specifically calls for it.
For a home refrigerator, a useful working target is about 1–5°C (34–41°F), while keeping the seed from freezing. Treat that as a starting range, not a universal rule: species, seed lot, and the exact protocol can change the answer. If a packet gives a duration or temperature, use that rather than extending the treatment because “more winter must be better.”
My rule is to resolve three questions before opening a bag: does this seed need cold, does it need a warm-moist stage first, and how long does this particular protocol call for? If the packet is vague, search the botanical name as well as the common name. “Columbine” can refer to more than one species, and a general label may not capture the supplier’s instructions.
Duration map: which seeds need weeks, and which need months?
A duration chart is useful only as a sorting tool. Seed suppliers and species-specific protocols don’t all use the same schedule, so I use these buckets to guide the next lookup—not to overrule a packet or promise that seeds will germinate on a certain day.
| Planning bucket | Examples to check in the packet or protocol | How I’d use the range |
|---|---|---|
| About 2–4 weeks | Some perennial flower lots, including columbine (Aquilegia) and purple coneflower (Echinacea) | Look for a short moist-chill instruction. Don’t assume every species or lot needs it. |
| About 30–60 days | Perennial flowers and some shrubs whose instructions call for roughly a month or two of cold | Start the calendar from the day the seed is damp and chilled, not from the day you bought the packet. |
| About 90 days or longer | Some temperate woody seeds, including certain apple and serviceberry protocols | Check whether the directions call for extended cold, a warm stage first, or both. |
These examples are signposts, not a species-by-species prescription. A packet may omit stratification, call for a different duration, or describe a different treatment for a particular seed lot. When a supplier’s instructions and a broad online chart disagree, I’d follow the supplier’s directions for that packet first. If you’re saving seeds or using a source with limited instructions, look for guidance tied to the botanical name and the seed’s origin.
Here’s a worked example to show how the timing plays out. Imagine you have a packet of columbine that asks for 30 days of moist chilling. If you start the batch on 1 January, the planned end is about 31 January. That date means “check whether the listed chill is complete,” not “expect every seed to sprout that day.” Label the bag with the species, start date and planned check date; keep the packet beside your seed starting supplies so the sowing step isn’t forgotten.
The useful distinction is between a minimum listed chill and a guarantee. The first is a treatment duration the instructions ask you to provide. Germination still depends on whether the seed is alive and whether its next conditions—such as warmth, light and sowing depth—suit that species.
Before the cold: check for hard coats and warm–cold sequences
Cold isn’t the only thing that can keep a seed dormant. A hard seed coat can resist water entering. Scarification means lightly damaging or abrading that coat so water can get through; it is a separate treatment from chilling. Don’t nick a seed just because it is taking a long time to germinate. A small cut in the wrong place can injure the living part inside.
Some seeds are also treated with a warm-moist period before they are chilled. That sequence is often called warm–cold stratification: first the damp seed is kept warm for the duration in its protocol, then it is moved to cold. The order matters because the seed is being given a sequence of seasonal cues, not simply a total number of days in a bag. If the instructions say warm first, putting the seed straight into the fridge skips part of that sequence.
I use this decision path before preparing a batch:
- Read the packet. Look for “cold stratify,” “moist chill,” “scarify,” or a warm period before chilling.
- Match the name. Check the botanical name and seek a protocol for that species, not just a similar-looking common name.
- Follow the sequence as written. If instructions specify warm-moist, then cold-moist, don’t swap the order or add scarification unless the protocol calls for it.
- If no treatment is listed, don’t invent one. Sow as directed or seek species-specific guidance before putting the batch through extra steps.
For a balcony gardener, this can prevent a small but frustrating mistake: spending weeks chilling seeds that needed a different treatment, then finding out the problem was never a lack of cold. The winter sowing route can be a good alternative when a species is suited to outdoor seasonal exposure, but it still depends on the seed’s instructions and the conditions where the container will sit.
The refrigerator batch: keep the medium damp, not soaked
The fridge method works because a damp medium lets the seed take up water while the cold slows the process down. A waterlogged bag does something different: it leaves little air around the seed and makes a messy, rot-prone batch more likely. Aim for evenly damp material that holds together when pressed but doesn’t drip.
Use a clean, sealable bag or small container, a little damp paper towel or another clean, moisture-holding medium, and a clear label. Place the seeds so they’re easy to see and separate. Include the plant name, date started and the planned end of the treatment. If you’re handling several species, separate bags are easier to manage than a mixed batch.
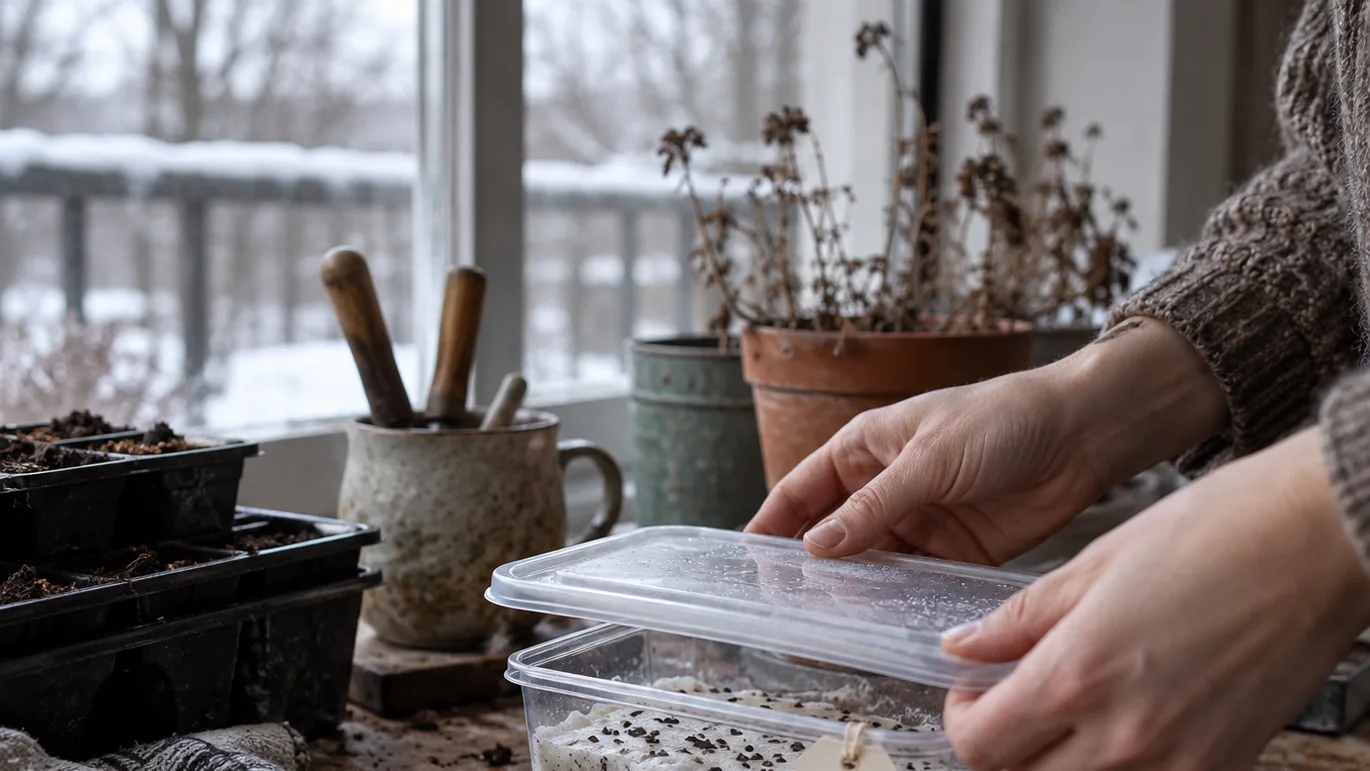
A practical balcony-fridge setup might look like this: you have a small packet of columbine seed, a clean snack-size bag, and a piece of paper towel dampened and squeezed until it no longer drips. Spread the seeds on the towel, fold it over them, seal the bag with a little air space, and label it “columbine — start date — check date.” Put it in a refrigerator area that stays cold but doesn’t freeze. This is an illustrative setup; use the packet’s treatment and timing if they differ.
Check the batch occasionally rather than opening it every day. You’re looking for the medium to remain slightly damp, with no spreading mold and no root emerging before you’re ready to sow. If it has dried, add a few drops of clean water; don’t pour water into the bag. If you see mold, remove the affected seed and medium, clean or replace the container, and reassess the remaining seeds. A light surface fuzz on the medium is a reason to inspect, not proof that every seed is lost.
Outdoor sowing can supply natural seasonal chilling for seeds whose instructions recommend fall sowing. That can be simpler than managing a fridge batch, but a balcony pot can dry out, become waterlogged, or experience stronger freeze–thaw swings than a controlled refrigerator. If you choose the outdoor route, keep the container where you can check its moisture and protect it from conditions that would wash seeds out or expose them to prolonged drying.
The calendar is a minimum, not a signal: inspect for mold and roots
Think of the calendar as a reminder to inspect, not as a command to leave the bag untouched until the last day. The right inspection rhythm depends on how damp the medium is and how stable the refrigerator is. I’d check often enough to catch drying, mold or an early root, then leave a stable batch alone between checks.
If seeds begin to sprout in the fridge, handle them gently. The white root is the first part to emerge and can break easily. If the required cold period is complete, sow the sprouted seed promptly at the depth in its instructions, keeping the root pointed down where possible. If the root appears before the listed minimum, the seed has reached a point where careful sowing may be safer than repeatedly moving it around; don’t pinch or scrape the root to make it fit the calendar.
If the medium dries, re-moisten lightly and check whether the seeds themselves have dried hard. If mold appears, separate affected seeds and refresh the medium rather than sealing wet material back into the same bag. If the seed has become soft, discoloured or collapsed, it may have rotted; discard clearly decayed seed rather than planting it in a small pot where it can affect the rest of the batch.
Keep species with different durations in separate labelled containers. That way, a short-treatment batch can be sown when its own instructions say to, without forcing a longer-treatment seed to leave the fridge early. It also makes a forgotten bag easier to identify. A bag marked only “seeds” is a mystery; a bag marked with species and dates is a task you can finish.
After chilling: sow promptly at the seed’s depth and temperature
Once the specified chill is complete, sow promptly rather than leaving the seed in the bag for an open-ended extra stretch. Follow the species-specific directions for depth and light. Some seeds are covered; others need light at germination and should sit at the surface or receive only a fine dusting of mix. Cold stratification doesn’t settle that question.
It also doesn’t replace the warmer conditions many seeds need to germinate. The sequence is often cold treatment first, then the temperature and light conditions suited to growth. Use a small pot or seed tray with drainage holes and a fine-textured seed-starting mix. Keep the mix evenly moist, not saturated; a small container can dry faster than a large pot, especially in a warm room or on a sunny windowsill.
After sowing, set the container where the species’ instructions say it belongs. Check the surface and the pot’s weight instead of watering by calendar alone. Once seedlings emerge, move them toward suitable light and follow the usual care for young plants; if you’re starting other crops at the same time, the guide to how long do seeds last can help you decide whether older packets deserve a small germination check before you commit a whole tray.
For seeds whose instructions call for outdoor seasonal exposure, compare that method with the site’s winter sowing guidance before you choose a container location. On a balcony, the practical question is whether you can keep the pot from drying completely while also avoiding standing water and seed loss. Pick the method you can monitor reliably.
Do seeds need light while they are cold stratifying?
The chilling stage is generally about cold and moisture, not providing grow light. Light can matter once you sow the seed, though, so follow the species-specific germination instructions after chilling.
Can cold stratification revive old seeds?
No. Chilling may help a living dormant seed respond to the right conditions, but it can’t restore a seed that has lost viability. For an older packet, test a small sample first rather than using the whole batch. The guide to how long do seeds last covers that decision.
Can I stratify different seeds in one bag?
I’d keep different species or batches separate, especially when their durations differ. Separate labels prevent one seed’s schedule from deciding when another is sown, and they make it easier to remove a moldy seed without disturbing everything else.
Before the weekend, choose one packet you’re considering chilling, find its full species name and write down the treatment sequence and start date. If the packet doesn’t give those details, look up a species-specific protocol before you dampen the first paper towel.
Frequently Asked Questions
Do seeds need light while they are cold stratifying?
Usually the chilling stage is about moist cold, not light, but light requirements can matter at germination; follow the species-specific sowing instructions.
Can cold stratification make old seeds viable again?
No. Chilling can help break dormancy in living seeds, but it cannot restore seeds that have lost viability; a small germination test can help assess an old batch.
Can I stratify different kinds of seeds together in one bag?
It is safer to keep species or batches with different chilling durations separate and labelled, so one seed’s schedule does not dictate when another is sown.