Growing Asparagus in Containers: Pot Depth, Crowns & Timing
A useful asparagus harvest from a pot starts with two hard limits: give one crown at least 18 inches (46 cm) of internal depth and width, and choose a spot with roughly 6–8 hours of direct sun. If your balcony gets only 1–2 hours, I’d spend that space on a quicker crop instead; asparagus asks for room for years before it repays the wait.
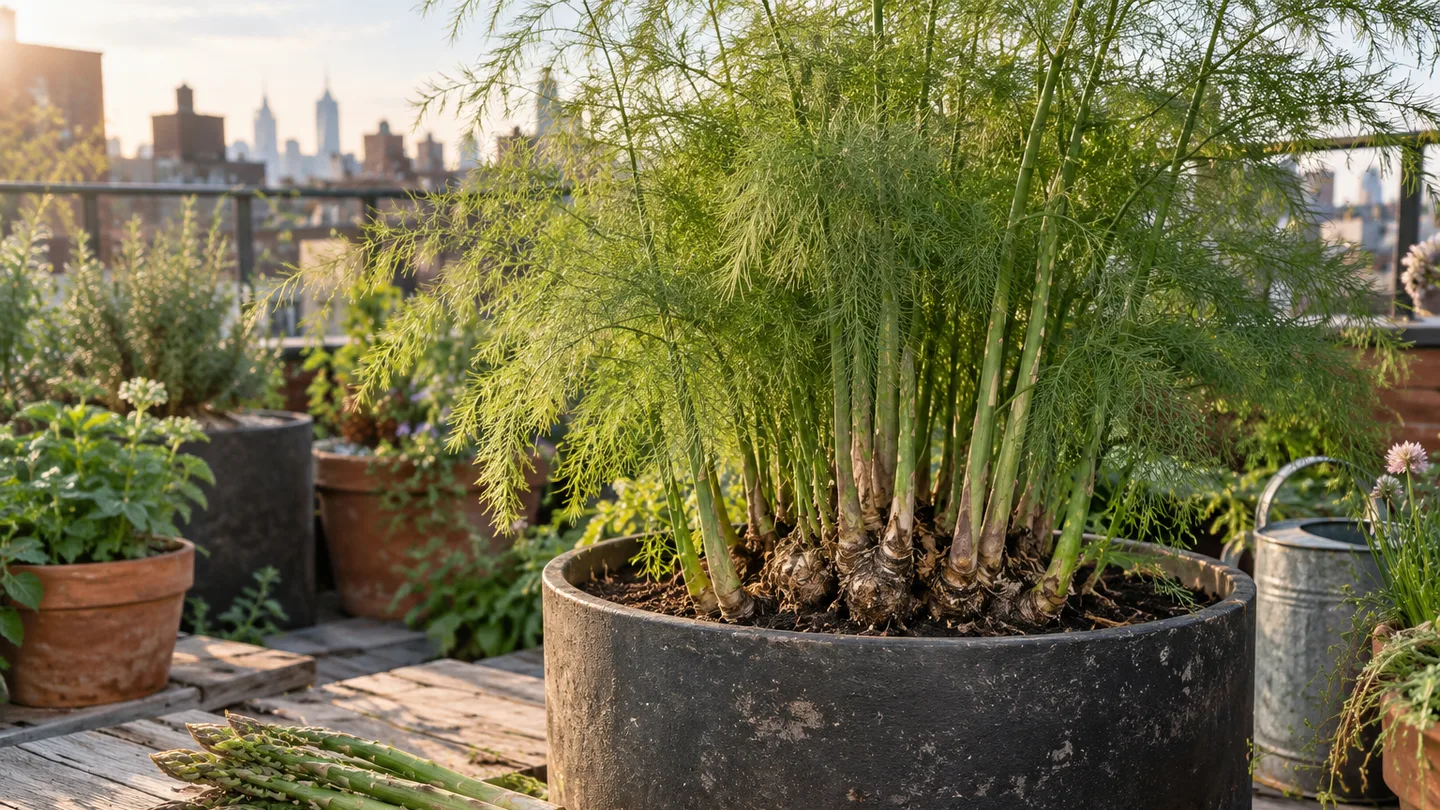
Before buying crowns: the 6–8-hour sun test and a 2–3-year wait
Asparagus is a long-term container commitment, not a quick spring crop. Plan on letting it establish before harvesting: no spears in the first growing season, at most a light harvest in the second if the plant is vigorous, and a fuller season from the third year onward. That timetable is a reason to check the balcony before buying a crown, not after it’s planted.
Track direct sun on a clear day. Look at the proposed spot in the morning, then check it every hour or so until late afternoon. Count only the time when sunlight actually reaches the pot; a bright sky reflected off a wall isn’t the same as direct sun on the fern. Repeat on another day if buildings, trees, or a neighboring balcony cast shifting shadows.
Here’s the kind of balcony decision I’d make: if a railing leaves the corner sunny from 9 to 11 a.m., then a neighboring building shades it, that’s about two useful hours, not a “mostly sunny” location. I’d put a leafy herb there and save asparagus for a spot that stays exposed through a much larger part of the day. The important test is the hours on the plant, not the brightness of the view from indoors.
Also picture the finished pot before choosing the location. A large container filled with damp mix is awkward to move, and a tall plant catches wind. Pick the permanent spot first, make sure the balcony can take the load, and avoid a narrow route where you’ll have to drag the pot past furniture later. If you’re still weighing the space against faster crops, compare it with Easy fruits and vegetables to grow in pots. Asparagus can be rewarding, but it isn’t my first pick for a short lease or a balcony that may be rearranged next season.
The pot specification: 18 inches deep minimum, 20–24 inches for more root room
For one crown, I’d start at 18 inches (46 cm) in both internal depth and width. A 20–24-inch (51–61 cm) pot gives the roots more room and leaves a wider margin for imperfect watering. Those are practical targets, not a promise that a plant in a smaller pot cannot live; they’re a way to avoid making a perennial compete for a shallow, narrow column of mix.
For a round pot, check the inside dimensions and whether the sides taper. A true cylinder 18 inches across and 18 inches deep holds about 75 L (2.65 cu ft) to the rim; a 20-by-20-inch (51-by-51-cm) cylinder holds about 103 L (3.64 cu ft). Those are geometric volumes, not a guarantee of how much bagged mix you’ll use. A tapered planter, thick walls, a curved base, and the space you leave below the rim all reduce usable capacity. If a product listing gives a smaller figure, use its stated capacity rather than assuming its outside measurements describe a cylinder.
| Container shape or use | Practical starting point | What to check |
|---|---|---|
| One crown, round pot | At least 18 in (46 cm) internal depth and width | Measure the interior; allow headspace and account for taper |
| One crown, roomier round pot | 20–24 in (51–61 cm) internal depth and width | Confirm the filled pot can stay in its chosen location |
| Long trough | About 12–18 in (30–46 cm) between crowns | Leave room for the fern and check that the trough drains along its length |
If you want to estimate a pot’s mix requirement yourself, measure its inside diameter and depth, then use a container-volume calculator or work out the cylinder volume. For a tapered pot, the cylinder answer is an upper estimate. Don’t buy exactly that much mix if you need to leave several inches at the top for planting and watering.
Drainage holes matter more than a layer of gravel. Water moving through fine potting mix can pause above a coarser layer before it enters the larger spaces below; putting gravel under the mix doesn’t pull water through faster and can leave less usable root depth. Use a pot with open holes, set it where excess water can escape, and fill it with a free-draining potting mix rather than dense garden soil. Don’t block the holes with a solid saucer of standing water.
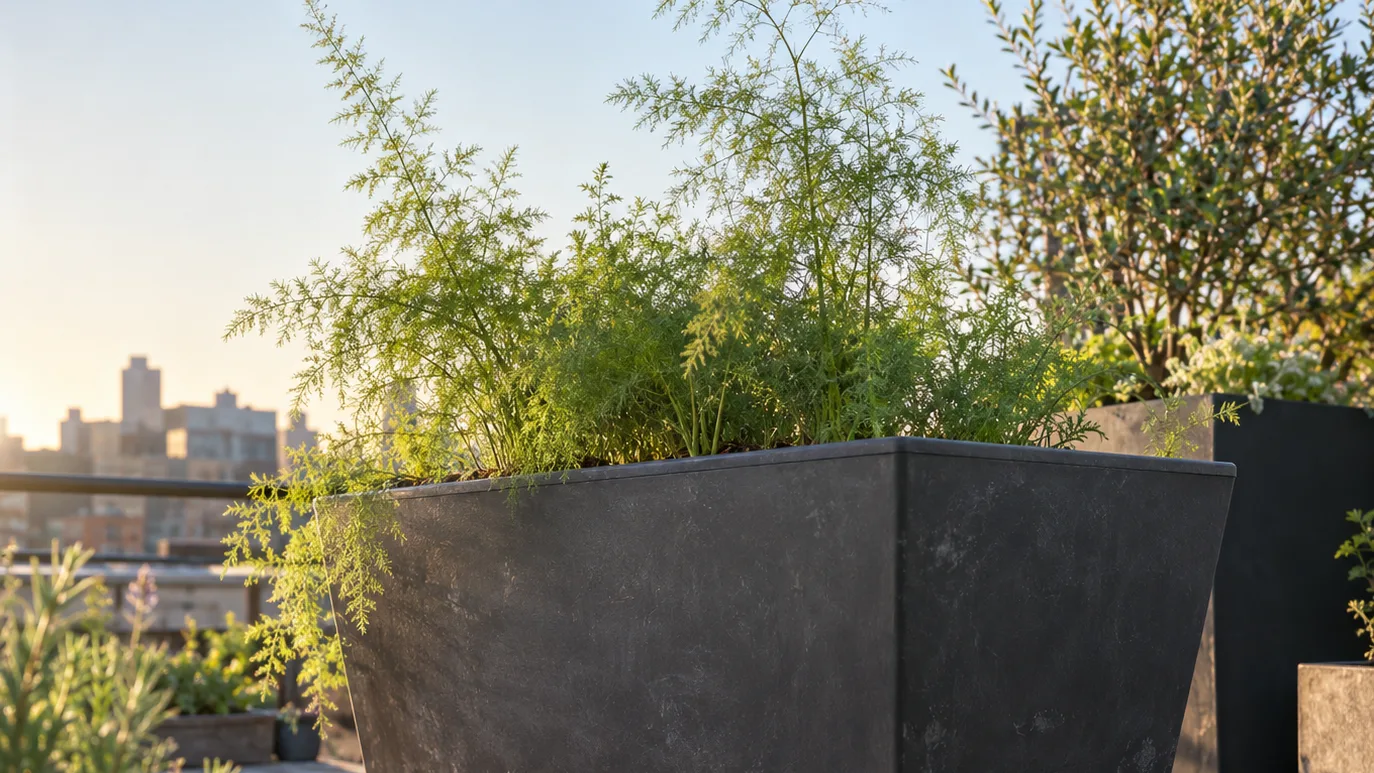
Spring crown planting: finish with 6–8 inches of soil over the crown
Plant a dormant crown in spring when the mix is workable in your local conditions. The calendar date varies with climate, so use regional guidance for timing rather than copying a date from a different growing region. Choose a firm-looking crown without mushy or badly damaged sections, and have the pot and mix ready before it dries out while you work.
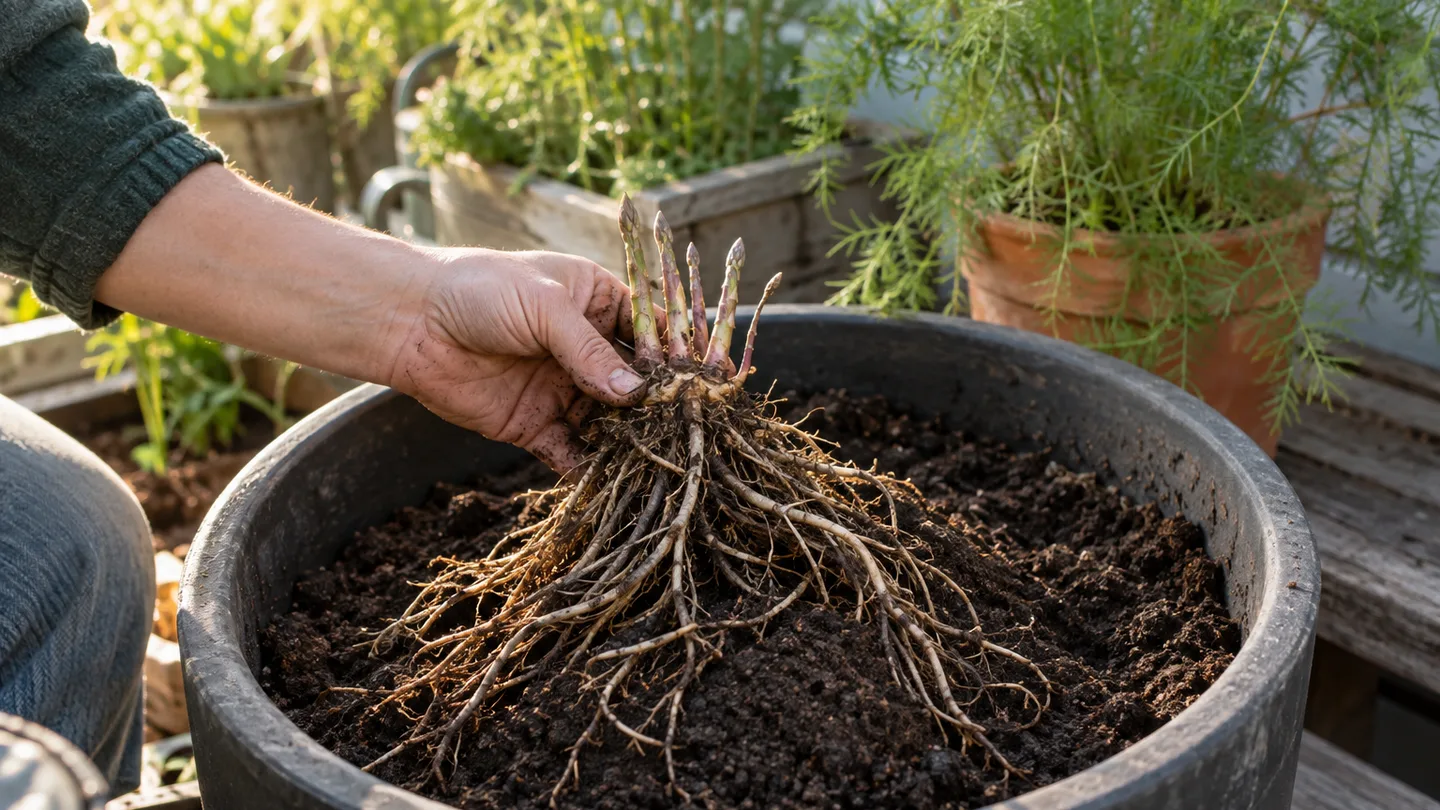
Start with a settled, loose potting mix. Leave enough room beneath the crown for its roots, then make a low mound in the centre and spread the roots over it instead of folding them into a tight bundle. Cover the crown with about 2 inches (5 cm) of mix at first. As shoots grow, add more mix in stages until the crown sits about 6–8 inches (15–20 cm) below the final surface. Keep the shoots uncovered as you add mix, and don’t press the fill down hard enough to compact it.
If you bury the crown to its final depth immediately, small shoots have more soil to push through. Staged filling keeps the distance to the surface short while the shoots are small, then builds toward the final cover as the plant grows. Don’t leave the crown exposed, either: roots and crown need to be covered, and the finished mix should have enough room below the rim for watering.
Think of this as topping up around the shoots, not repeatedly digging up the crown. Add a shallow layer, let shoots extend, then add the next layer around them. If a shoot is already tall when you notice a low fill level, leave its tip clear rather than burying it under a sudden deep layer. The surface may settle after watering; top it up gently if the crown becomes visible, but don’t tamp the whole pot into a hard block.
I’d avoid garden soil in this job. In a confined pot it can settle into a dense mass, while loose potting mix is easier to keep both moist and aerated. The sequence matters: establish the crown and roots first, cover lightly, and build the depth gradually rather than forcing a small shoot through the full final layer on day one.
Years 1, 2 and 3: let the fern build the crown before harvesting
For the first growing season, leave every spear in place. Let it open into fern and keep the plant watered while it builds strength. In the second year, a vigorous crown may support a short, light harvest—around two weeks is a cautious planning point—then let the remaining shoots grow. From the third year onward, you can consider a longer harvest if the spears are still sturdy and the fern had a healthy previous season. The plant’s condition matters more than the calendar alone.
The reason to stop harvesting is visible: a spear left standing develops into fern. That leafy growth supports the crown’s next cycle; cutting every emerging spear keeps removing the growth the plant needs to replenish itself. Thin, spindly spears or a crown that produced only a few weak shoots are a stop sign, not an invitation to harvest harder. Let those shoots grow and reassess next season.
For a harvestable spear, look for one around 6–10 inches (15–25 cm) tall with a tip that is still closed. Snap it near the mix surface or use a clean knife close to the surface without gouging into the crown. Check the pot regularly during an active flush; a spear left too long can open and turn fibrous. Don’t chase a promised number of spears from one pot. Crown age, variety, weather, and growing conditions all affect what it produces.
After the harvest window, stop cutting and let new spears fern out. If the new growth is robust, that’s a better sign to trust than trying to stretch the picking season for a few extra stalks. In a container, I’d rather protect next year’s growth than squeeze the current season until the plant looks depleted.
The rest of the year: steady moisture, fern dieback and winter protection
Keep the mix evenly moist, not waterlogged, but don’t follow a fixed weekly schedule. A small plastic pot in sun and wind can dry much faster than a large glazed pot in partial shade. Check the mix with a finger a little below the surface; if it feels dry there, water slowly until excess drains from the holes. If the upper layer is dry but the mix below is still damp, wait and check again rather than adding water by the calendar.
If the mix may have shrunk from the sides of the pot, water may run down the gap instead of soaking the root area. Apply water more slowly and check whether the whole root area is becoming damp. A quick stream out of the drainage holes isn’t proof that the centre of the pot has been rewetted. Let the first water soak in, then add more if the mix still feels dry below the surface.
Watch the pattern of symptoms. Limp or crisp fern with dry mix points me toward checking for a missed watering or a pot drying too quickly. Persistently wet mix, slow drainage, or a sour smell calls for checking the holes and the pot’s position before adding more water. These signs can overlap, so feel the mix and inspect the drainage rather than diagnosing from leaf colour alone.
In spring, top-dress with a modest layer of finished compost or use a fertilizer labelled for edible plants according to its directions; don’t heap material against the crown. A practical soil-mix target is around pH 6.5–7.5, but the potting mix label or a suitable test is a better guide than adding lime or another amendment by guesswork. For comparison, growing blueberries in containers calls for a different, more acidic mix, so don’t assume one potting recipe suits every perennial.
Let the fern stand until it yellows or browns in autumn, then remove the dead growth. In a pot, the crown is more exposed to cold than it would be in the ground because the container sides don’t have surrounding soil to buffer temperature swings. Move the pot to a sheltered position if you can, and insulate the sides without covering the drainage holes. For local timing and methods, check your regional extension service’s asparagus growing guidance and its advice on winter protection for perennials in containers; the right approach depends on your winter conditions.
Before you buy a crown, measure the inside of the pot you intend to use and write down the hours of direct sun at its permanent spot. If the pot is under 18 inches deep or the spot gets only an hour or two, choose a different crop this weekend; if both checks pass, you’re ready to shop for a dormant crown and potting mix.