Growing Lavender in Pots: Pot Size, Soil & Watering Rules
A compact English lavender generally needs a pot at least 30 cm (12 in) wide, 25–30 cm (10–12 in) deep, and holding about 15–20 L (4–5 gal) of mix. Use a lean, airy blend, leave the drainage holes open, and water only after the upper 3–5 cm (1–2 in) has dried; a small pot that is watered by the calendar is how lavender turns yellow.
That is the buying answer. The reason behind it matters just as much, because lavender is more likely to fail from a wet root zone than from being forgotten for a day. Here is how I size the pot, build the mix, plant it, and decide whether it actually needs water.
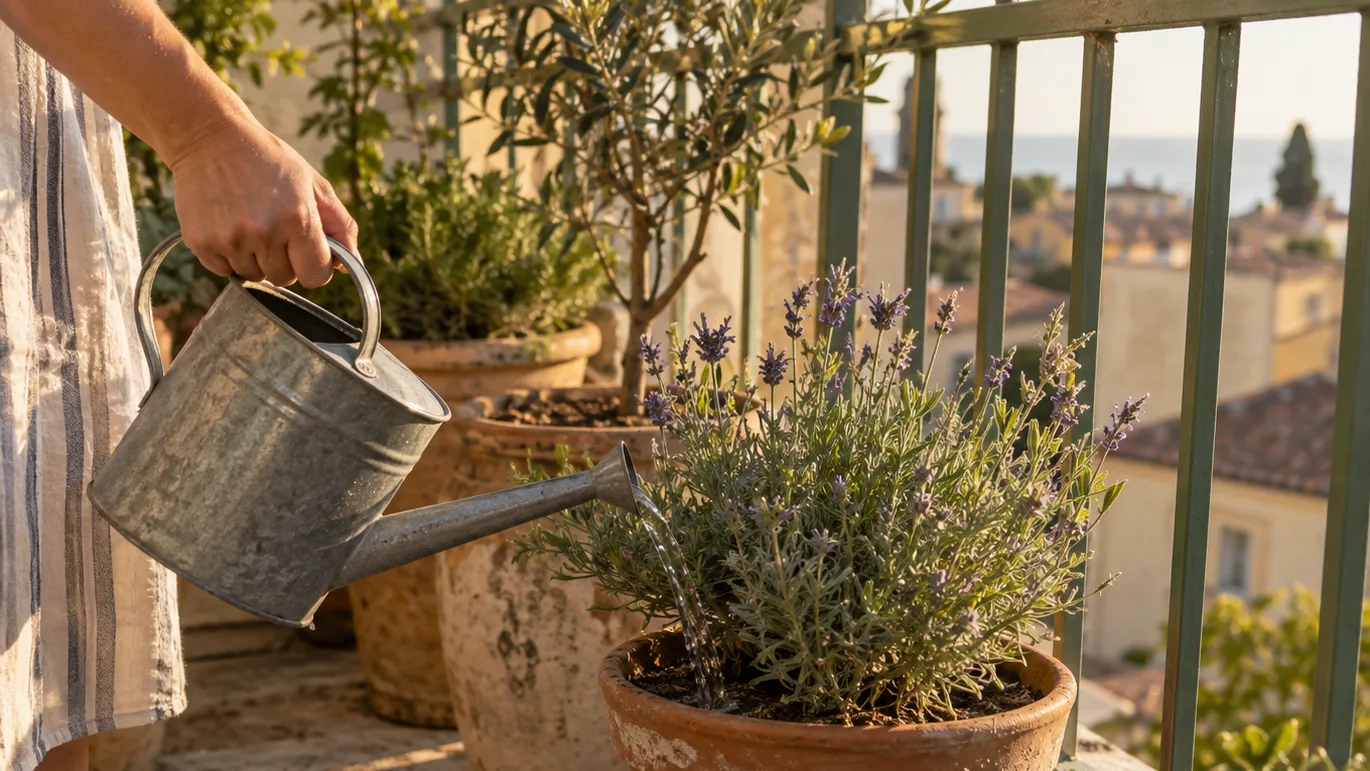
The short answer: 15–20 litres for one compact lavender, more for lavandin
For one compact English lavender in a container, I would start with a pot around 30 cm (12 in) across and 25–30 cm (10–12 in) deep. Aim for 15–20 L (4–5 gal) of finished potting mix. That gives the roots enough room to establish without surrounding a small root ball with a huge reservoir of slow-drying mix.
Larger lavandin types and broad, vigorous lavender cultivars deserve more space. A container holding roughly 25–30 L (6.5–8 gal), usually around 35–40 cm (14–16 in) wide, is a more sensible target. Check the plant label for its mature spread rather than choosing by the height of the plant in the nursery pot.
| Lavender type | Practical pot target | Finished mix |
|---|---|---|
| Compact English lavender | 30 cm wide and 25–30 cm deep | 15–20 L (4–5 gal) |
| Large English lavender or lavandin | 35–40 cm wide and about 30 cm deep | 25–30 L (6.5–8 gal) |
One plant per pot is my default. Lavender needs room for air around the foliage, and a crowded mixed planter makes watering harder because a thirsty companion plant can tempt you to keep the whole container wetter than lavender wants. If you do combine plants, place lavender with other drought-tolerant plants that accept the same dry-down pattern.
Sunlight is the other non-negotiable trade-off. For a flowering container, I treat fewer than roughly six hours of direct sun as a poor position. Bright ambient light is not the same as direct sun on the leaves. In a dim spot, the plant may stay alive but produce weak, stretched growth and fewer flowers, while a small decorative pot can dry and heat faster than its limited root volume can buffer.
On a balcony, I would rather use a plain 30 cm plastic pot in a sunny position than a beautiful shallow planter that holds half the required mix. The pot is part of the growing system, not just a display piece.
Drainage holes beat gravel: where the water stops below the root ball
A drainage hole does not make every layer of potting mix drain instantly. In a fine, moist mix, water is held by small spaces between the particles. The lowest part of the mix can remain wet above the hole even after the visible excess has run out. That wet band is commonly called a perched water table: it is simply water held above the drainage opening by the mix itself.
Adding 2–3 cm (about 1 in) of gravel at the bottom does not remove that wet band. The fine mix still sits above the gravel, and the change from fine material to coarse material can hold water at the boundary. The gravel also occupies space that could have contained roots and airy mix. For lavender, that is a poor exchange.
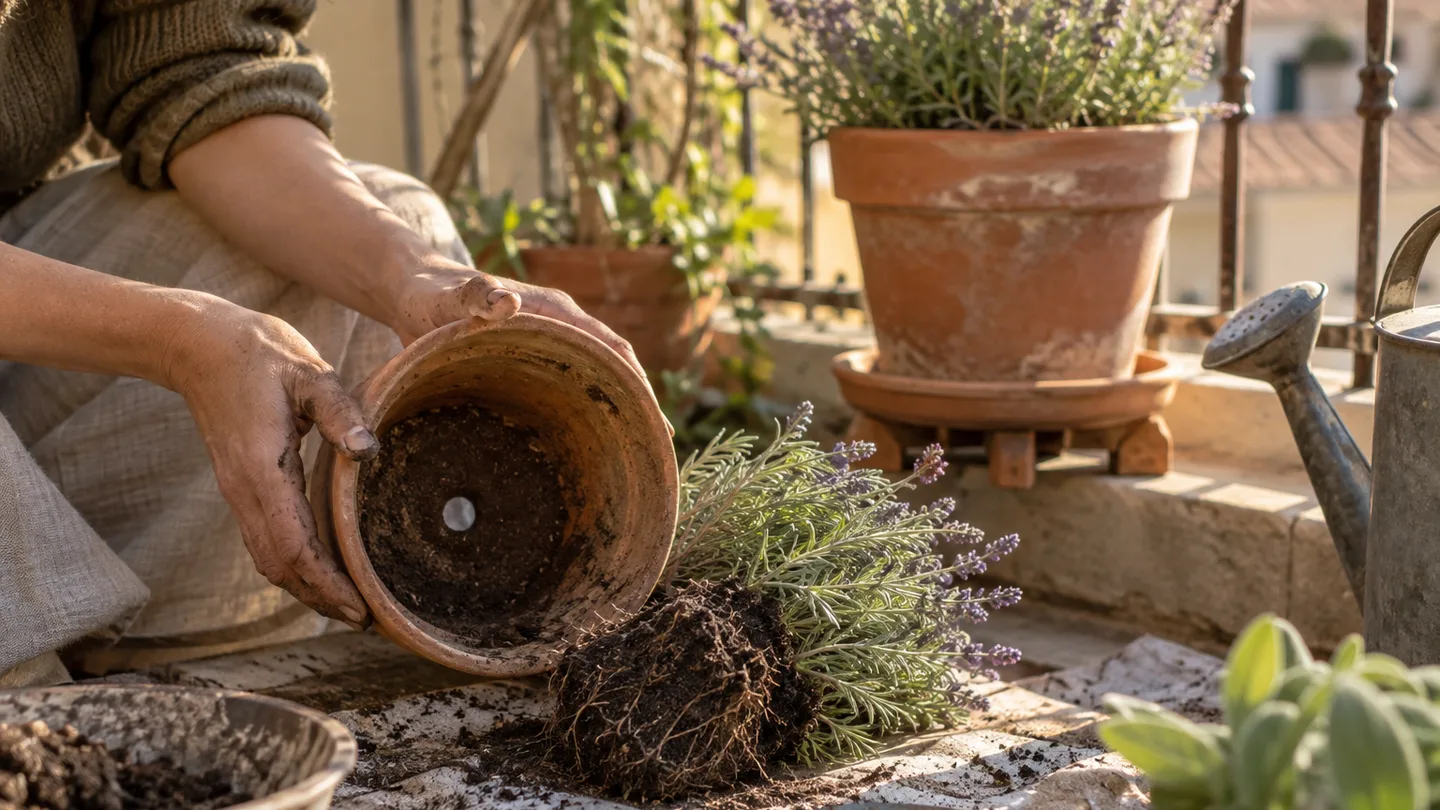
Set the container up so water can leave freely:
- Use a pot with one or more unobstructed drainage holes. If the opening is large enough for mix to fall through, cover it with water-permeable mesh rather than building a deep base layer.
- Keep roughly 1–2 cm (about ½–¾ in) of clearance beneath the pot on a hard surface. Pot feet, small spacers, or a raised saucer can provide that gap.
- Use a saucer if runoff could stain a balcony or patio, but empty it after watering. A saucer is a catchment tray, not a permanent reservoir for lavender.
- Check that the hole has not become sealed by compacted mix, roots, or a flat surface.
If the pot has open holes but the mix remains wet for many days, do not assume it needs more drainage material at the bottom. Check the texture of the mix, the pot size, the position, and how often you are watering. Drainage is a whole-container property; one hole cannot compensate for a dense, water-holding root zone.
Use a lean, airy mix: 2 parts potting mix to 1 part grit or pumice
My repeatable starting recipe is two parts quality peat-free or peat-based potting mix to one part coarse horticultural grit or pumice, measured by volume. For a finished 15–20 L batch, that means roughly 10–13.5 L (2.6–3.6 gal) of potting mix and 5–6.5 L (1.3–1.7 gal) of coarse material.
The point is not to make the pot bone-dry. Lavender still needs water around its roots. The point is to create larger air spaces so the mix can drain and re-oxygenate after a thorough watering. Coarse grit or pumice helps create that structure; it does not act like a magic drain at the bottom of the pot.
Garden soil is usually a poor choice in a container because it can compact into a dense mass when wet and restrict the air spaces roots need. Heavy, compost-rich mixes can hold more moisture than a lavender root ball can use between waterings. Fine sand is not the same as coarse grit: fine particles can fill the gaps between potting-mix particles and make the texture tighter rather than airier.
I would not chase an alkaline reading at the expense of drainage. A roughly neutral to mildly alkaline target, around pH 6.5–8, is a reasonable working range for lavender, but the pot should still drain freely. If you are growing a crop with a genuinely different pH requirement, keep the mixes separate. Blueberries are the useful contrast: growing blueberries in containers calls for a different acid-mix strategy.
That same volume-first thinking helps in growing herbs in containers, but lavender deserves the driest mix in the group. A recipe that is fine for basil or parsley can stay too wet for a woody Mediterranean plant.
Plant at nursery depth, leave a 2–3 cm watering lip, and settle the roots once
Planting depth is simple, but it is one of the places where a well-intentioned repot goes wrong. The crown—the point where the stems meet the roots—should remain above the surrounding mix. Do not bury the woody base to make a tall plant look shorter.
- Check the drainage holes first. Add a small piece of mesh only if the mix falls through the opening.
- Add enough prepared mix that the top of the root ball will sit at the same level it did in the nursery pot.
- Slide the lavender out and inspect the roots. If they are tightly circling the outside, loosen only the outer coil with your fingers; do not tear the whole root ball apart.
- Set the plant in the centre, keeping the crown at or slightly above the final mix level.
- Fill around the root ball and firm the mix lightly. Leave 2–3 cm (about 1 in) below the rim so water has somewhere to sit before soaking in.
- Water slowly until a little excess exits the holes. Let the container drain fully.
That first thorough watering settles contact between the new mix and the root ball. Repeated small sips do the opposite: they wet the surface while leaving dry pockets lower down, or keep the lower mix damp without encouraging the roots to spread into a well-aerated volume. After planting, the goal is one complete wetting followed by a measured dry-down, not a daily splash.
Water by moisture depth, not by weekday: the 3–5 cm dry-top rule
Watering lavender by weekday is the shortcut that causes the most confusion. A calendar cannot see whether the pot is plastic or terracotta, whether the balcony is windy, or whether yesterday was cool and cloudy. I use three checks together: the depth of dry mix, the feel of the pot, and the moisture lower in the root zone.
For established lavender, wait until the upper 3–5 cm (1–2 in) feels dry. Push a finger into the mix, slide in a wooden skewer, or use the weight of the container as a second opinion. If the top is dry but the pot still feels heavy and the skewer comes out cool with damp mix deeper down, wait. If the pot is noticeably lighter and the mix is dry to the checking depth, water thoroughly.
Water around the root ball in a slow ring, pause when the surface starts to shed water, then continue until a little drains from the holes. The first trickle is not proof that the whole root zone is wet. It may have travelled down a gap between the old root ball and the new mix.
During the first two or three weeks after planting, check more often than you would for an established plant. Newly disturbed roots have not yet occupied the surrounding mix, so I check the top 2–3 cm (¾–1 in) and the pot weight rather than waiting for a large dry zone. Water when the new plant needs a complete drink, but do not keep it saturated just because it has recently been repotted.
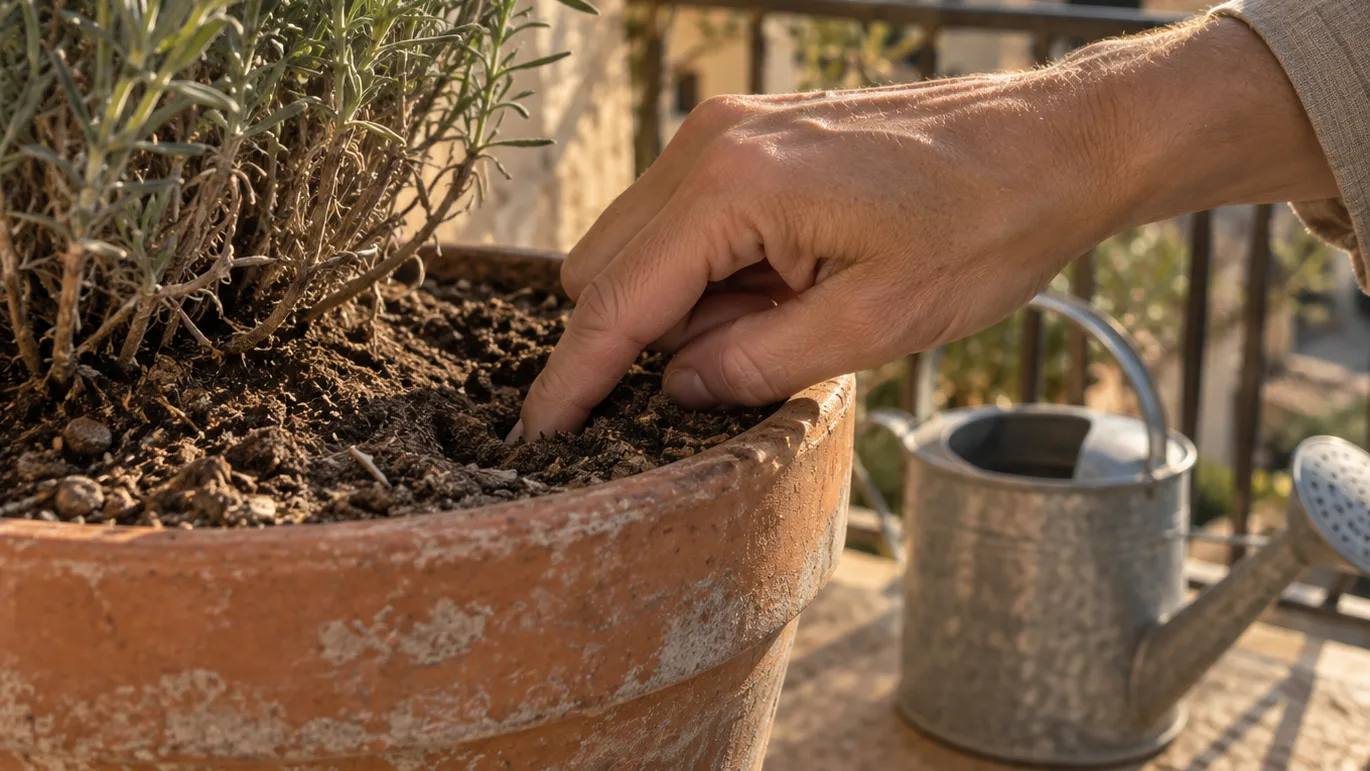
Here is the practical comparison I use when explaining this to a new container grower:
- A 15 L (4 gal) black plastic pot in full sun, heat, and steady wind may need checking daily or every other day. That is a checking interval, not an instruction to water every day.
- A 30 L (8 gal) glazed pot in part shade may remain moist at depth for two to four days between checks. In a hot, exposed position, even that larger pot can dry faster.
- A terracotta pot can lose moisture through the pot wall as well as from the surface, while a plastic pot usually holds moisture longer. The material changes the interval, but it does not replace the finger or skewer check.
On my own balcony, I do not schedule lavender for Tuesdays. I lift the pot before I reach for the watering can. A surface can look pale and dry while the root ball still feels cool and heavy; if I add a small drink at that point, I am only keeping the lower half wet. If the pot is markedly lighter and the skewer is dry down to its checking depth, I water slowly enough to wet the whole container.
Sometimes water runs straight down the sides and appears almost immediately below the pot. That usually means the mix has pulled away from the container wall or dried into a water-repellent crust. Apply one slow pass over the surface, wait 5–10 minutes, and make a second slow pass. The pause gives the dry mix time to absorb water instead of sending it through the gap. If the problem repeats, inspect the root ball and consider repotting in spring rather than compensating with constant shallow watering.
Overwatering and underwatering can look similar at the leaves because both disrupt root function. The moisture check is what separates them. A wilted plant in a feather-light pot needs water; a wilted plant in a heavy, wet pot needs its roots examined, not another drink.
Yellow leaves, a limp plant, or crispy tips: match the symptom to the cause
Lavender troubleshooting works better as symptom, mechanism, and first move. I would check the pot and root zone before reaching for feed or pruning shears.
| What you see | Where I would look first | Immediate action |
|---|---|---|
| Yellow, soft lower leaves with damp mix | Too little air around the roots from frequent watering or a dense mix | Pause watering, empty the saucer, and move the pot to brighter, breezier conditions if possible |
| Limp foliage while the mix is wet | Root damage or poor oxygen supply, not necessarily thirst | Do not add water; inspect drainage and the crown if the plant does not improve |
| Crispy tips and a very light pot | Dry root ball, heat, wind, or water that has bypassed the mix | Re-wet slowly in two passes and reduce reflected heat or wind exposure |
| Blackening at the crown or sour-smelling mix | Persistent saturation and possible crown or root rot | Unpot and inspect; keep only firm, healthy roots and a firm crown |
| Mix dries unusually fast | Small pot, crowded roots, porous pot material, hot sun, or wind | Check moisture at depth, then repot one size up in spring if the roots fill the container |
| Lots of soft green growth but weak flowering | Insufficient direct sun, excess nitrogen, or a root zone that stays too wet | Improve light and dry-down before adding more feed |
Yellow leaves alone do not diagnose overwatering. A plant can yellow after drying too far, especially if water has been running down a gap around the root ball. That is why I pair the leaf symptom with pot weight and moisture depth.
If the crown is black and soft, the mix smells sour, and the roots collapse when touched, I would stop trying to rescue the whole plant. If the crown is firm and some roots remain sound, remove damaged material, replace the wet mix, and give the plant a brighter, ventilated position. Recovery is not guaranteed, but continuing to water a failing root system removes the one condition it needs most: air.
The pot’s year: light spring feeding, cooler-weather restraint, and winter shelter
Lavender does not need a heavy feeding routine. In spring, inspect the mix and the new growth. If an established plant has been in the same container for a season and growth is pale or noticeably weak, give one restrained feed suitable for container plants, following the product label rather than repeating doses every week.
Frequent high-nitrogen feeding is a poor bargain for a compact lavender. It can push soft leafy growth when the container would be better served by sturdy, compact stems and good airflow. If the plant is already green and flowering normally, I would not feed simply because the calendar says spring.
As temperatures fall, evaporation slows and the plant uses less water. Extend the interval between checks, but do not switch to automatic neglect. In cool weather I still check at least weekly, especially after rain or a sudden warm spell. Water only when the mix has dried to the appropriate depth and the pot feels lighter.
A container is more exposed to winter cold than lavender planted in the ground because its roots have less surrounding soil to buffer temperature swings. Move the pot out of prolonged winter rain and severe freezing, but keep it bright and ventilated. A cold, sheltered outdoor position is usually a better winter arrangement than a warm, dim room where the plant receives little direct sun and poor airflow.
For background, I would compare the practical advice here with University extension guidance on lavender container culture, drainage, and soil pH and Royal horticultural organization guidance on lavender pruning, feeding, and winter protection. Use those references to check the broad principles; the moisture in your actual pot still decides whether you water today.
Three questions that come up after the pot is planted
Can I grow lavender indoors on a windowsill?
Only if the window supplies roughly six hours of direct sun and the plant has good airflow. Many indoor windowsills are too dim, too warm, or too still for durable growth. An outdoor container is usually the better choice, provided the position is genuinely sunny.
Is a self-watering pot suitable for lavender?
Usually not as a first choice. A reservoir can keep the lower mix continually wet, while lavender benefits from a dry-down period between thorough waterings. A standard pot with open holes gives you more control. If you already own a reservoir pot, do not keep the water chamber full by default; judge the moisture in the root zone first.
When should I repot lavender grown in a container?
Spring is the easiest time, especially when roots circle the pot, water runs through a dry gap, or the mix dries unusually fast despite reasonable watering. Move up one container size rather than placing a small root ball into a huge pot that stays wet for too long.
Before the weekend, measure the empty pot you plan to use, check that its drainage holes are open, and set aside enough material for a finished 15–20 L batch. By the time you plant, you should have one sunny position, one airy mix, and no watering schedule pinned to the calendar.
Frequently Asked Questions
Can I grow lavender indoors on a windowsill?
Only if the window supplies roughly 6 hours of direct sun and good airflow; most indoor windowsills are too dim or warm for durable growth, so an outdoor container is usually the better choice.
Is a self-watering pot suitable for lavender?
Usually not: a reservoir can keep the lower mix permanently wet, while lavender does better in a standard pot with open drainage and a dry-down period between thorough waterings.
When should I repot lavender grown in a container?
Repot in spring when roots circle the pot or the mix dries unusually fast, moving up one container size rather than placing a small root ball into a very large, slow-drying pot.