How Much to Water Container Plants: A Beginner's Step-by-Step
Start with the endpoint, not a measuring cup
How much to water container plants depends less on a measuring cup than on what happens at the drainage holes. For an established plant in an ordinary pot with open holes, water slowly across the whole surface until a small, steady amount exits below, then stop and let the pot drain.
That is the useful meaning of water until runoff: not a flood, and not a fixed number of cups. Runoff is the first water leaving the bottom after the mix has had time to take it in. Pot size, root volume, dryness, mix, plant size and weather all change the amount required. The physical detail that's easy to miss is that water can appear in the saucer while the middle of a shrunken, dry root ball is still dusty.
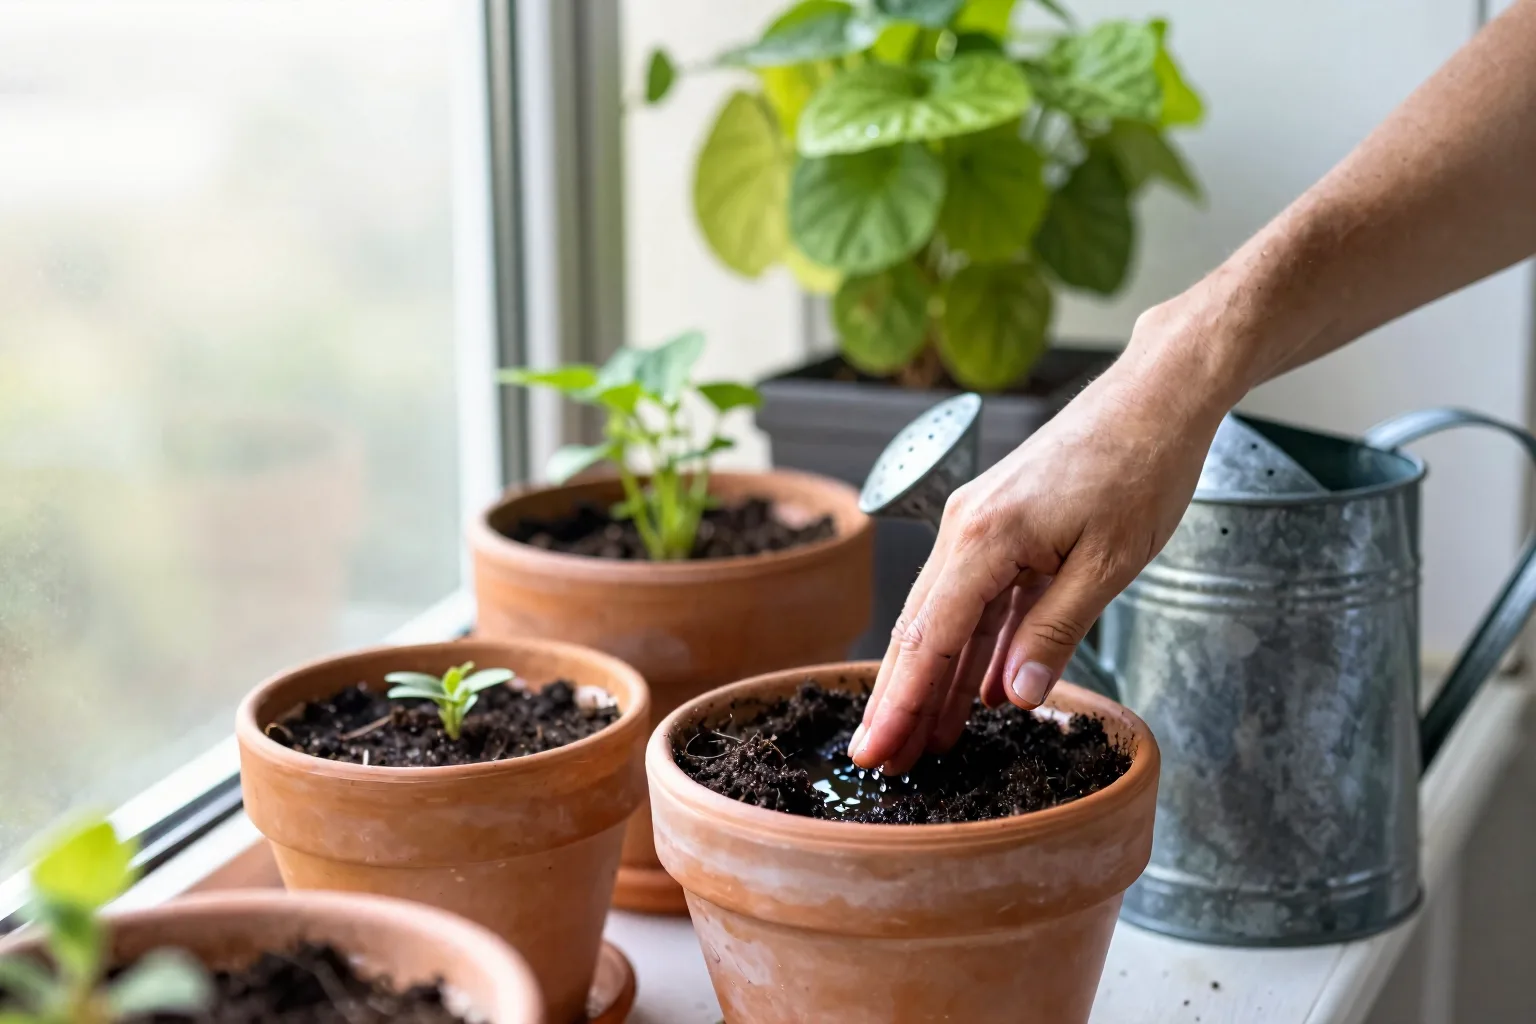
A 3-litre (0.8-US-gallon) herb pot has little water storage beside a 30-litre (8-US-gallon) tomato pot. If you're choosing mix as well as a pot, The Best Potting Mix for Vegetables, Herbs and Fruit in Containers is the more useful companion than a promise printed on a bag.
- Fill a watering can to a marked level, such as 5.0 litres (1.3 US gallons).
- Water at a slow, repeatable pace over the whole surface until the first steady trickle reaches the saucer.
- Read the can again and record the difference. If the pot needed two passes, record the total used.
For example, if the can falls from 5.0 litres to 4.1 litres before drainage begins, write down 0.9 litres for that pot on that day. That figure is a starting reference, not a permanent dose. A hot, windy week may shorten the interval; cool, cloudy weather may lengthen it.
The 30-second moisture check before every watering
Before watering, I want a quick answer to one question: is moisture present where the roots are, rather than merely on the surface?
- Push a finger 2–5 cm (1–2 inches) into the mix near the plant, but not directly against the stem.
- If the pot is narrow or the surface is crowded, insert a wooden skewer to the same depth. Damp mix usually clings to it and leaves the wood darker; dry mix leaves it comparatively clean.
- Lift the pot after it has drained, if it is safe to do so, and remember that heavier feeling as the watered reference. Compare it with the pot before watering next time.
That depth is a starting check for many established container plants, not a law for every crop. Test only 1–2 cm (0.4–0.8 inches) down in a seed tray or shallow seedling pot, where the root zone is close to the surface. A deep-rooted or drought-tolerant plant may be ready only after a deeper dry layer develops, while a moisture-loving plant may need attention as soon as the upper layer begins to dry.
A dry-looking surface can hide damp mix below. The reverse also happens: a very dry root ball can shrink from the pot wall, leaving a gap that lets water run down the side while the centre remains dry. Check more than one point before deciding.
The most useful watering number is often the depth of dry mix, not the volume in the can.
A slow two-pass watering method for dry potting mix
Very dry mix needs a gentler sequence than ordinary maintenance watering. When the surface has pulled away from the pot or water disappears instantly, use two passes instead of adding the whole can at once.
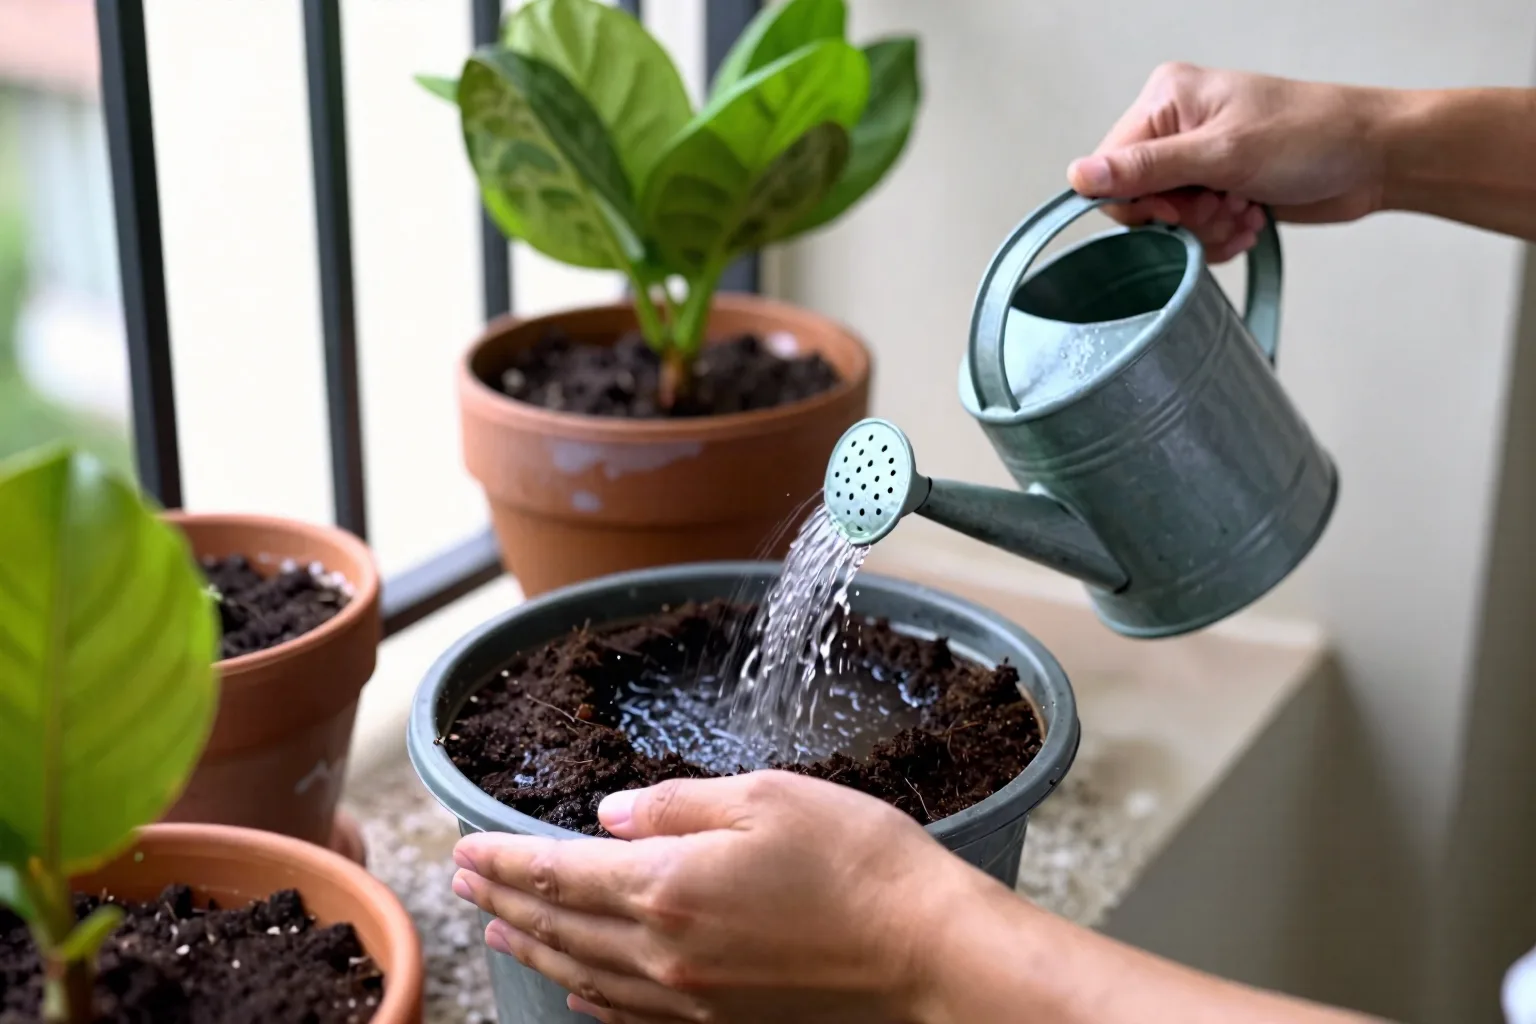
- Check the route out. Make sure the drainage holes are open and the pot is not sitting flat against a saucer or balcony surface that blocks them.
- Make a first pass. Apply a small amount across the surface, enough to darken and dampen it without producing a strong flow from below. Work around the plant rather than pouring against the stem.
- Pause for roughly 30–60 seconds. This gives the dry upper layer time to accept water instead of sending the next pour straight along a crack or pot wall.
- Water the full root zone. Pour slowly in a circle, covering the edges and centre. On a large container, divide the surface into quarters so one dry corner is not missed.
- Make the decision at the holes. If the first water vanished immediately or appeared from one narrow point, repeat a small wetting pass before continuing. Once a small, steady amount drains, stop and let the container finish draining.
Very dry organic-based mix can become difficult to re-wet because it shrinks and leaves channels. Water then follows the easiest route instead of spreading through the root zone. A saucer should catch drips, not keep the pot standing in them; empty it after drainage has finished.
Gravel at the bottom doesn't create a dry reservoir under wet soil. A change between fine mix and coarse stone can leave a wetter layer sitting above it, sometimes called a perched water table. For the short version, see Does gravel improve drainage in pots? If a mix repeatedly dries into a hard shell, fix the media and watering technique before buying an automatic gadget.
Why the same pot needs water sooner on a windy balcony
Watering amount and watering interval are separate decisions. A large pot may require more litres in one session, yet a small pot may need checking more often because it stores less water around the roots.
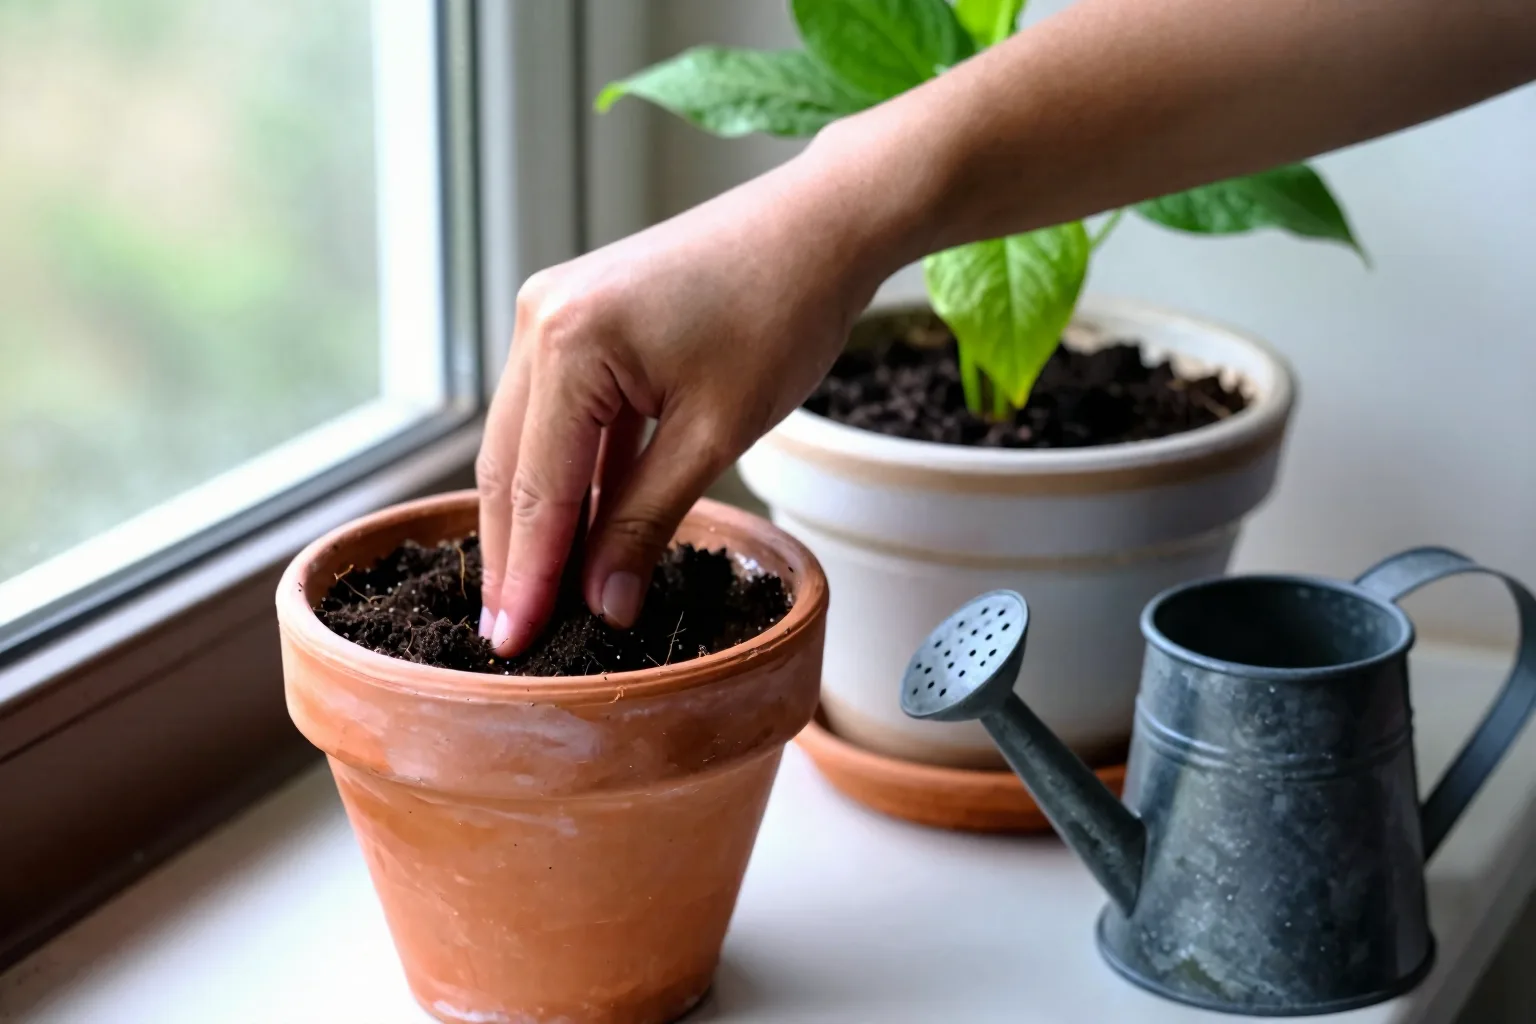
| Container and position | Inspection starting point | What changes the result |
|---|---|---|
| 1–5 litres (0.26–1.3 US gallons), plastic, hot sun or wind | Check daily during hot spells | Small media volume dries quickly |
| 1–5 litres, unglazed terracotta, sun or breeze | Check daily, sometimes earlier | Porous clay can lose moisture through its walls |
| 20–40 litres (5.3–10.6 US gallons), plastic, sunny but sheltered | Begin by checking every 2–3 days | More mix stores more water, but the plant may be larger |
| 20–40 litres, glazed, part shade and sheltered | Begin by checking every 3–4 days | The glazed wall loses less moisture than unglazed clay |
Those are inspection starting points, not a watering schedule. The same 10-litre (2.6-US-gallon) pot can cross its dry threshold sooner beside a hot reflective wall than in a sheltered corner. Wind removes moisture from the pot surface and increases the water lost through leaves, while heat speeds evaporation. Plastic and glazed containers generally hold moisture longer than unglazed clay under otherwise similar conditions.
Rain deserves a check rather than an assumption. A leafy canopy, balcony roof or neighbouring wall can keep rain out of the mix while the leaves look thoroughly wet. Insert a finger 2–5 cm down after the shower, and inspect the sheltered side of the pot as well as the centre.
Symptom → soil check → fix: separating thirst from excess water
Drooping, yellowing and brown leaves can follow both too little water and too much. I use the order in this heading because adding water before checking the mix can turn a diagnosis into a second problem.
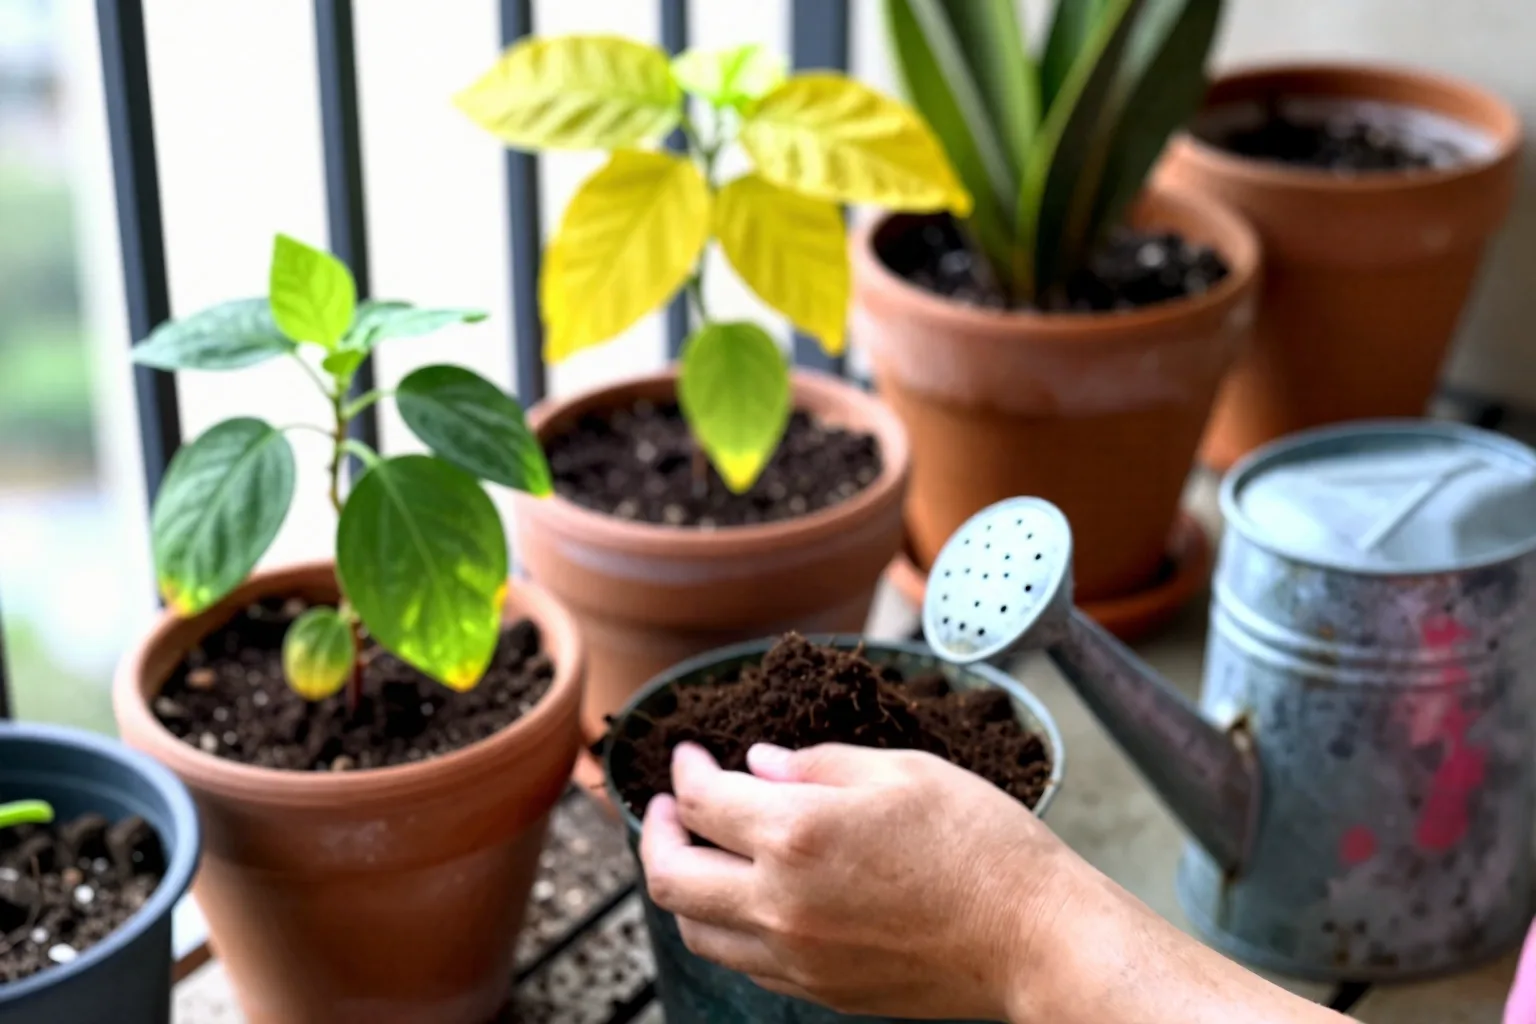
- Limp leaves with a dry root zone: Water slowly using the two-pass method if the mix has pulled away or water is running down a gap. A dry root zone gives thirst a reasonable explanation.
- Limp or yellowing leaves with persistently wet mix: Pause watering. Check that the holes are open and that the container drains freely. Saturated mix can limit air around roots, so adding more water is the wrong first correction. For the longer comparison, read How to tell overwatering from underwatering in potted plants.
- Brown, crispy edges or a pale crust on the mix: Check for dryness and for accumulated soluble salts from fertiliser or repeated evaporation. If the pot is dry and drains properly, water thoroughly once; hold off feeding until the cause is clearer.
- Wilting mainly at midday while the mix is still damp: Treat heat, reflected light, pests or leaf damage as possible alternatives. Move the pot from harsh reflected heat or give temporary shade, then check the mix again later instead of watering automatically.
One symptom doesn't identify the cause. The useful correction is tied to the soil check: water a genuinely dry root zone, pause and investigate a wet one, and look at light, pests and salts when moisture doesn't explain the pattern.
When the rule changes: seedlings, heatwaves, rain and holidays
Seedlings and newly transplanted plants need a smaller, more local check. Their roots occupy a shallow or disturbed area, so wet the root zone gently and inspect it again rather than saturating a large unused volume of mix every day.
During heat, strong wind or intense reflected balcony light, inspect earlier and be prepared to check again later the same day. That does not mean adding water on a timetable: if the mix is still damp, shade and airflow may be the better correction.
For a week away, group pots so they shade one another slightly, move them out of the hottest exposure while keeping suitable light, and test a wick or self-watering arrangement several days before leaving. An untested reservoir can keep a pot wet when its roots have not yet used the supply. The relevant companion is How to keep container plants watered while you are on holiday.
For broader reading, compare your routine with general university extension guidance on watering container-grown plants, drainage and potting-mix moisture. During a hot spell, check horticultural extension guidance on container plants during heatwaves, wind and short holiday absences, along with your local water authority's current outdoor-watering restrictions.
Today, choose one representative pot. Use the two-pass method, note the can reading when drainage begins, and check the mix again in two days and one week. If it reaches the dry threshold sooner, shorten the inspection interval; if it remains damp, don't add water simply because the calendar says so.