Vermicomposting: What Goes in a Worm Bin—and What Doesn't
A worm bin can take most raw fruit and vegetable scraps, coffee grounds, tea leaves and crushed eggshells. Keep meat, dairy, oils and pet waste out; treat citrus, bread and cooked leftovers as occasional additions, not the foundation of a feeding.
The useful rule is not just “which foods?” It’s “how much, how wet, and what else is in the bin?” A small serving buried in airy bedding behaves very differently from a heap of wet scraps left exposed. Here’s the quick sort I’d keep beside a home bin.
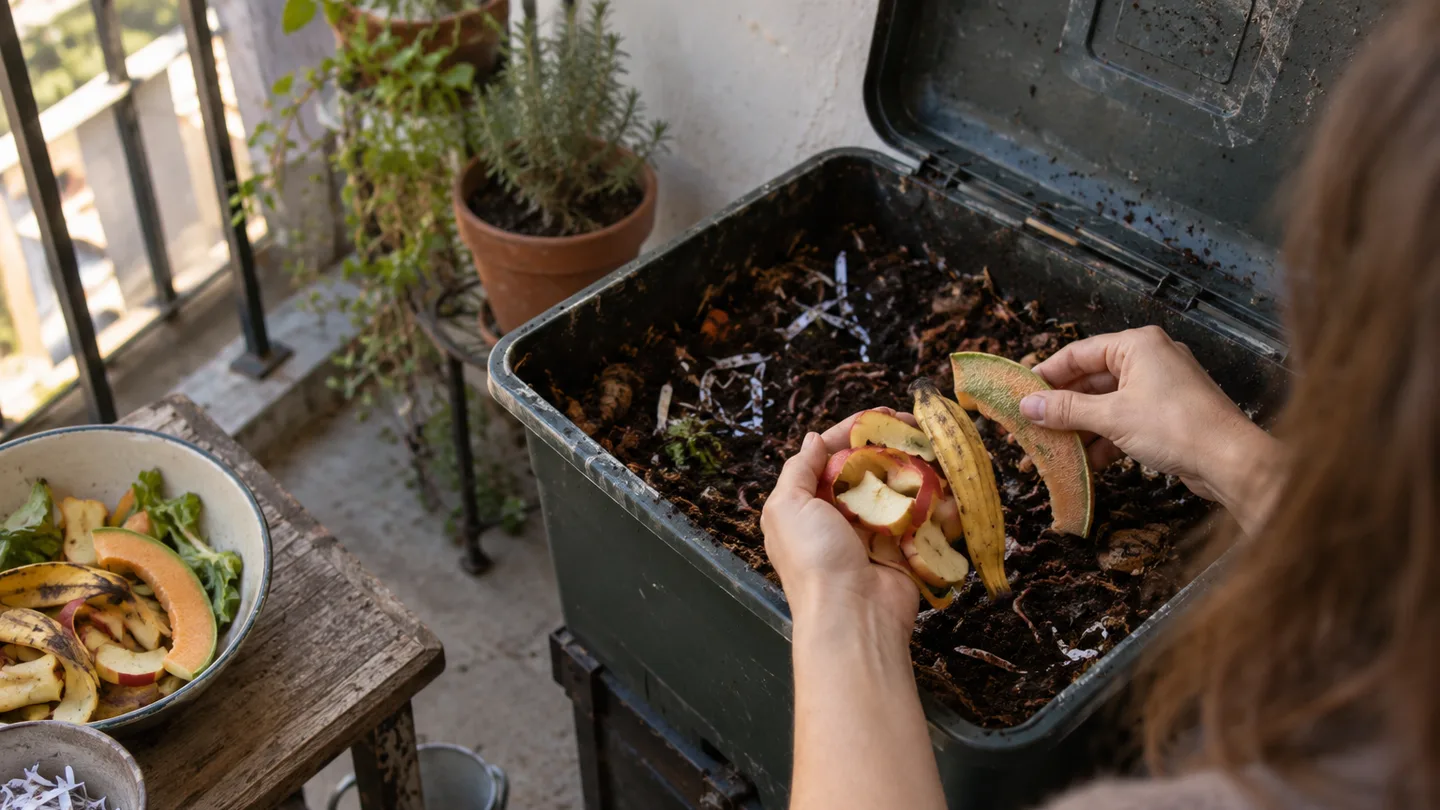
The fast sort: everyday scraps, occasional extras, and hard no’s
| Usually fine as regular feed | Use sparingly | Leave out of a typical home bin |
|---|---|---|
| Raw vegetable trimmings, fruit scraps, coffee grounds, plain tea leaves, crushed eggshells | Citrus, onion and garlic, bread, cooked vegetables, plain grains | Meat, fish, dairy, oily or heavily salted food, pet waste, scraps contaminated by cleaners or chemicals |
The first column is a menu, not an invitation to fill the bin with one food. Mix scraps with plain bedding, and start with a modest pocket. A handful of cucumber ends and apple peel is a gentler first feeding than a whole bowl of wet leftovers.
For a balcony bin, I’d make the decision in this order: Is the food plant-based and free of sauces or oil? Is it a small enough amount to bury? Is the bedding already soggy or sour-smelling? If the bin is struggling, skip the next feeding rather than trying to fix it with more scraps.
Reliable staples: vegetable and fruit scraps, coffee, tea, and eggshells
Most uncooked fruit and vegetable scraps are dependable because they soften and break down in the moist, microbe-rich bedding. Try lettuce ribs, carrot peel, squash ends, melon rind in small pieces, apple cores and banana peels. Avoid relying on a single ingredient: a bin fed mostly watery melon, for example, gets a wetter and less varied meal than one receiving a mix of vegetable trimmings and dry bedding.
Chop scraps into roughly 1–2 in (2.5–5 cm) pieces if that’s easy. Smaller pieces expose more surface for microbes and make it easier to tuck a feeding into one pocket. Chopping isn’t compulsory, though; a whole tough peel will simply take longer to soften. If you’re looking for other uses for banana peels for plants, keep those separate from what you put in the bin rather than assuming a peel needs to be used one particular way.
Coffee grounds are useful as one part of a varied feed, but a dense layer of grounds can compact and stay wet. Mix them into other scraps and bedding instead of tipping a filter basket into one spot. Plain tea leaves and opened tea bags can also go in; remove staples and plastic mesh first. The phrase coffee grounds for plants covers other garden uses, but inside a worm bin the practical question is whether grounds are mixed through rather than piled up.
Crushed eggshells add gritty material and are slow to disappear. Rinse them if they’re sticky, then crush them finely so you don’t leave large sharp pieces scattered through the bin. Don’t count on eggshells to fix a sour, wet bin: they won’t remove excess food or restore air space. More on other uses of eggshells for plants can help keep those separate questions straight.
Use sparingly: citrus, alliums, bread, and cooked leftovers
Growers differ on citrus. Some add small amounts without trouble; others leave it out because a large, fresh load of acidic peel can make the bin unpleasant and takes time to soften. I’d choose the conservative middle: add a little chopped citrus occasionally, mix it with other scraps, and leave it out if the bin is already sour or struggling. There isn’t a universal safe percentage that works for every bin.
Onion and garlic scraps are strongly scented and can linger. A few trimmed ends mixed through a varied feeding are a different proposition from making them the main course. If you’re unsure, put those scraps in municipal green-waste collection or another suitable composting system rather than testing the limits of a small indoor bin.
Bread and plain cooked grains can become a sticky, dense patch when damp. Add only a small amount, break it apart, and bury it well. Food cooked with oil, butter, heavy seasoning or salt is a poor fit: the extra ingredients can leave an oily or salty pocket, and exposed leftovers can attract unwanted visitors.
Here’s a useful decision example, not a claim about a measured bin: if you have a small bowl with a few citrus peels, half a slice of plain bread and vegetable trimmings, feed the trimmings first. Hold the citrus and bread back until the bin is processing its usual food and the bedding still feels springy, then offer a little of one—not both at once. That order makes it easier to tell which addition the bin handles comfortably.
Keep these out: meat, dairy, oils, pet waste, and contaminated scraps
For an ordinary home worm bin, leave out meat, fish, bones, cheese, milk and other dairy. They can decay slowly, smell strong, and draw flies or scavenging pests. A system specifically designed and managed for those materials may have different rules; that doesn’t make them a sensible experiment in a small apartment tote.
Oil, greasy sauces and large amounts of salty food are out for a different practical reason: they can coat and clump bedding, while excess salt is a poor condition for the worms. A greasy pizza crust is not equivalent to a plain vegetable peel just because both started in the kitchen.
Keep dog and cat waste out of a typical food-scrap worm bin. Pet waste can carry pathogens, and a bin kept for kitchen scraps is not automatically managed to make that material safe. The same caution applies to litter, even if it is labelled biodegradable. Check local waste guidance for disposal rather than putting it in a bin used to process food scraps.
Skip scraps mixed with household cleaners, paint, garden chemicals or other contaminants. This is not a claim that every conventionally grown fruit needs to be excluded; it’s a practical boundary against material you know has been contaminated. EPA’s consumer guidance on composting at home and local Cooperative Extension guidance are useful starting points for broader composting and feed questions, though recommendations can depend on the system being discussed.
Bedding is part of the recipe: a 4–6 in (10–15 cm) base of damp, plain material
Worm-bin bedding is the loose, carbon-rich material that surrounds the food. Use plain, uncoated shredded cardboard or paper, torn into pieces that can hold air. Avoid glossy or waxed stock and paper with heavy colour printing. Bedding absorbs some of the liquid released by scraps, gives the bin structure, and creates spaces for air; it is not just a cover to hide food.
For a small home bin, start with about 4–6 in (10–15 cm) of damp bedding. That depth gives you somewhere to bury the first scraps and some dry material to mix in if the bin gets too wet. Add a little water as you fluff it, then squeeze a handful. It should feel like a wrung-out sponge: damp, but not dripping. If water runs out, add dry shredded bedding and turn it through gently.
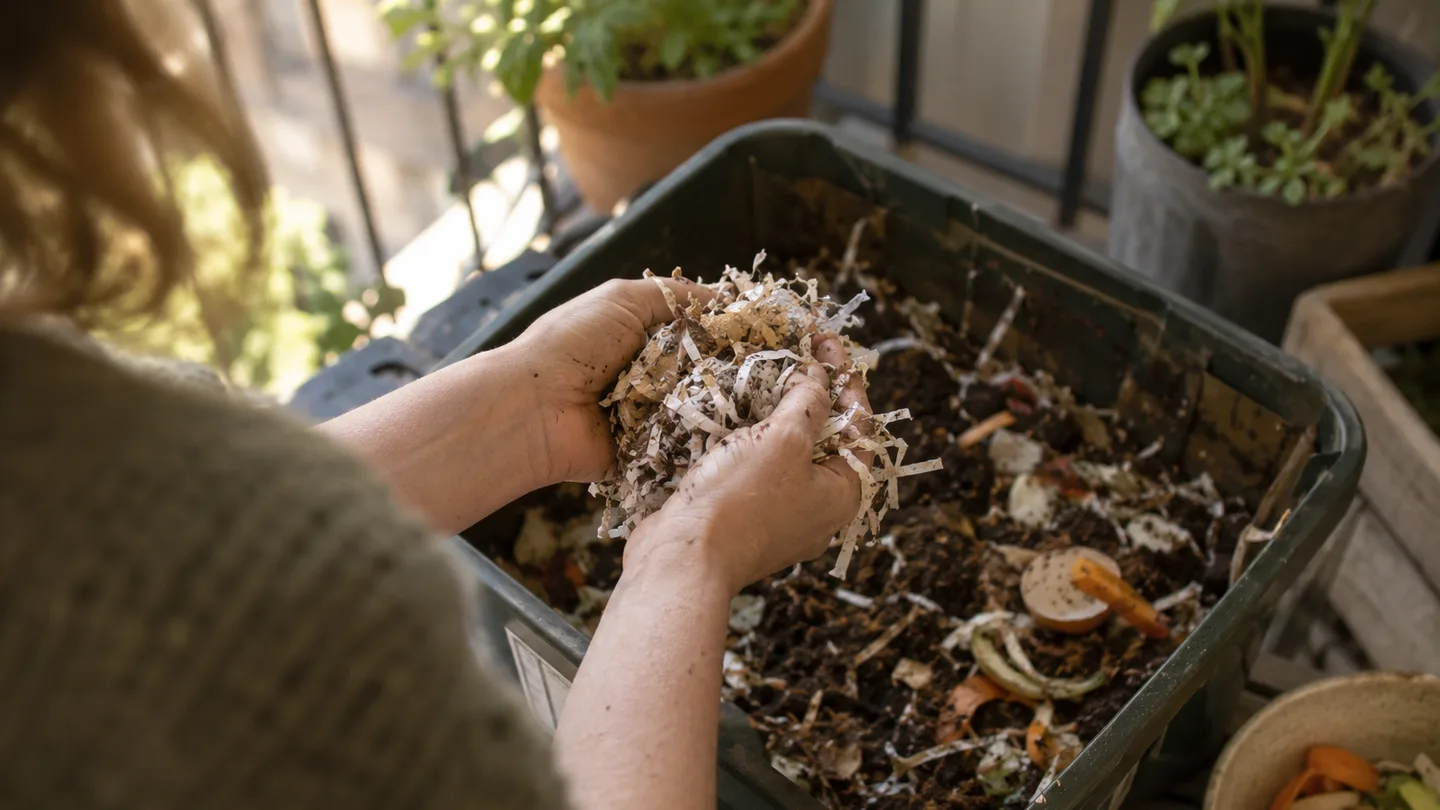
Plain paper and cardboard can be a useful counterweight to wet fruit and vegetable scraps. In a compact bin, I’d rather keep extra dry bedding nearby than try to correct a soggy layer after food has started to smell. If you want to compare materials before starting, look for a guide to worm bin bedding that explains the trade-offs between paper, cardboard and other plain, absorbent materials.
How much to feed—and why “half their weight per day” is not a promise
You may encounter a rule of thumb that worms can process up to about half their body weight in food per day. Treat that as an upper-end reference, not a starter ration or a guarantee. The amount a bin can process depends on conditions in the whole system, and a number based on worm weight doesn’t tell you whether your bedding is wet, cold, compacted or short of air.
Begin with a small pocket of scraps. Before adding more, check the previous feeding. If most of it has softened or disappeared and the bedding still smells earthy rather than sour, offer another small portion in a different place. If recognizable food remains, wait. The bin’s condition is a better guide than a calendar reminder.
Temperature, food size, moisture, bedding and the number and condition of the worms all affect how quickly scraps break down. Chopped soft food in a settled bin may be processed sooner than a large piece of tough peel in a cool bin. Don’t respond to slow breakdown by piling on more food: that increases the amount decomposing at once, which can make a damp, poorly aerated patch worse.
A practical example: for a newly started apartment bin with damp shredded cardboard and a modest population of worms, tuck in a small handful of chopped vegetable scraps, cover it, then inspect that pocket before feeding again. If the scraps are still plainly there, leave them. If they have mostly softened and the bin has no sour smell, add the next small portion elsewhere. That’s a real procedure you can repeat, not a promise about how many days any particular bin will take.
Prep and bury each feeding: small pieces, a 1–2 in (2.5–5 cm) cover, and rotating pockets
Use this simple routine:
- Break large scraps into pieces roughly 1–2 in (2.5–5 cm) across when convenient. Don’t spend time finely chopping every peel.
- Move bedding aside to make a shallow pocket, then add a modest amount of food.
- Pull the bedding back over the scraps and add about 1–2 in (2.5–5 cm) of cover. The food should not be sitting exposed on top.
- Use a different area for the next feeding. Check the old pocket before you add more.
Burying scraps helps keep flies from finding the food and makes it easier to notice whether a portion is still sitting untouched. Rotating pockets also gives you a simple record without a feeding chart: if the last spot is still full, the next spot can wait. Keep the bedding loose as you cover the food; pressing it into a dense lid defeats the point of leaving air spaces.
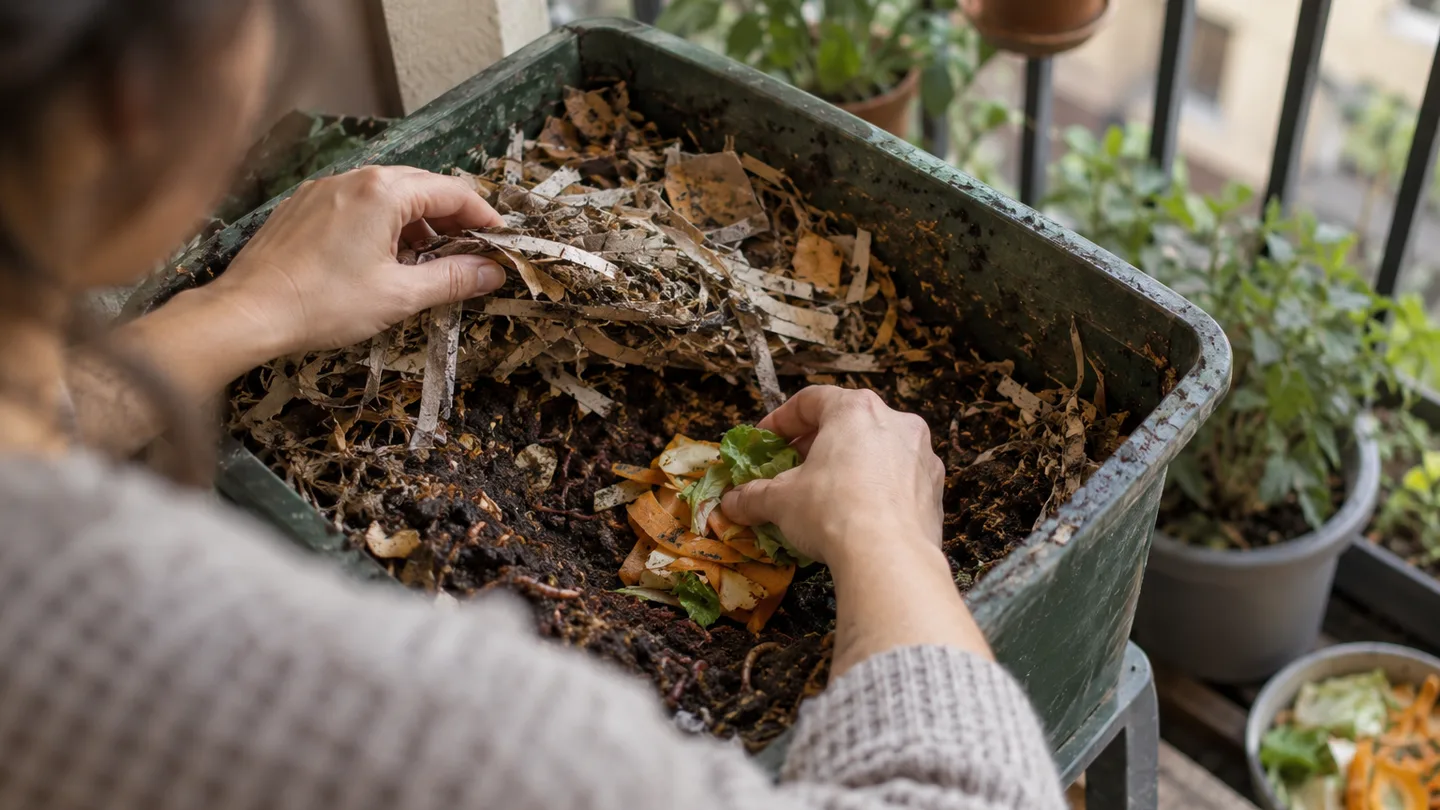
If fruit flies appear, first look for uncovered scraps or old food at the surface. Remove exposed pieces and cover the active feeding with fresh bedding. For a persistent problem, the site’s guide on how to stop fruit flies in a compost or worm bin offers a separate troubleshooting path.
When the bin objects: sour smells, flies, escaping worms, or heat
Sour or rotten smell: Look for a large uneaten feeding, a soggy patch, or bedding packed too tightly. Remove obvious excess food, mix in dry shredded paper or cardboard, and leave the bin undisturbed for a few days before feeding again. An earthy smell is different from a sharp, unpleasant odor.
Flies around the surface: Check for exposed scraps, fruit left near the bin, or wet food at the top. Bury the scraps, cover them with bedding and clean up the nearby source. Adding more food while flies are present is unlikely to help.
Worms climbing or gathering at the edges: Check moisture, temperature, airflow and recent additions before assuming one cause. A flooded or overheated bin can push worms away from the bedding they normally occupy; a major change in food can also coincide with a problem. Remove the immediate stressor, add dry bedding if needed, and make sure the container has ventilation without letting the bedding dry out.
Heat: For red wigglers, roughly 55–77°F (13–25°C) is a useful working range, not a universal promise for every worm species or bin. Sustained warmth near or above 85°F (29°C) is a reason to move the bin to a cooler place and check species-specific advice. On a balcony, direct afternoon sun can heat a container even when the air feels manageable, so use shade and check the bedding itself.
My judgment call is to correct the bin’s physical conditions before buying an additive or changing the entire feed. Remove excess food, restore loose damp bedding, and let the bin settle. This week, check one old feeding pocket and squeeze a handful of bedding; if food remains or water drips out, pause feeding and correct that before adding another scrap.