Grow Mango From Seed: What to Expect in a Small Pot
A mango seed can grow in a small pot, but an 8–12 in (20–30 cm) container is best thought of as a starter home or a foliage-growing setup, not a dependable lifetime fruit pot. You can raise a handsome seedling there; getting fruit is a different, much less certain project.
For a balcony, I’d plan around the plant you can manage now and be honest about the next constraint: light, winter space, or a larger container. In my own balcony planning, I treat the pot as a movable nursery, not a promise of fruit. That distinction changes what I’d buy and what I’d expect.
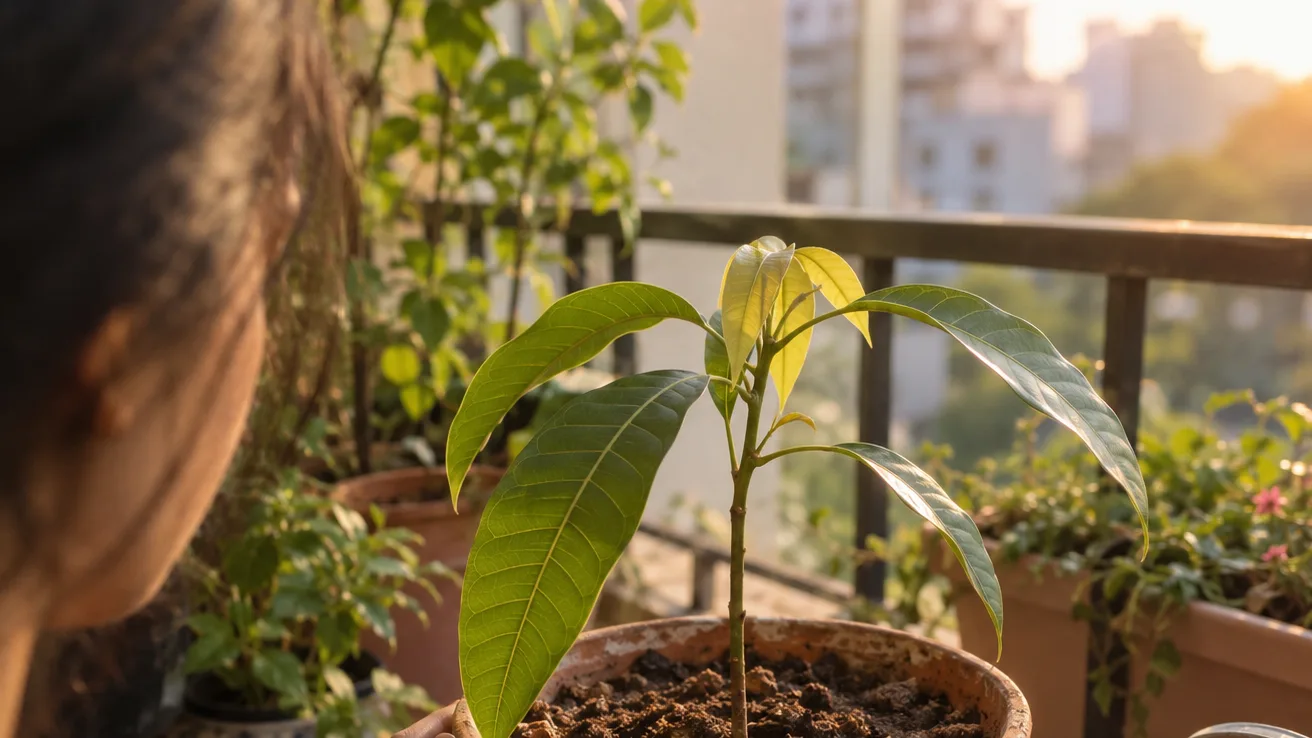
The honest promise: a mango seedling, not a pocket-sized fruit tree
A mango seedling can spend its early life in a pot. The small-pot question is really about how long you want to keep it there. A container only 8–12 in (20–30 cm) wide gives you a manageable place to start, but its limited root volume makes it a poor bet as the permanent home for a tree you hope will flower and carry fruit.
That doesn’t mean you need to start with an enormous tub. A large container takes up floor space, weighs more once wet, and is awkward to move through a doorway. Start with a deep, stable pot, then move up as roots fill it. If your goal is a leafy tropical plant, you can keep the project modest and prune to suit the space. If your goal is fruit, budget for substantially more room and strong light, and accept that neither pot size nor care can guarantee a crop.
There’s a useful difference between “can grow in a pot” and “will fruit reliably in a small pot.” The first is a reasonable seed-growing project. The second is not a promise I’d make for a seed-grown mango kept in a tight container, especially indoors.
From grocery mango to sprout: freshness, husk, and patience
Start with a fresh, sound mango and remove all the slippery flesh from the flat, fibrous husk. Let the cleaned husk dry only enough to handle comfortably; don’t leave it forgotten for weeks. The seed inside is the part you’re trying to keep intact. If the husk is already split or the kernel looks shrivelled, soft, or moldy, choose another fruit if you can.
To open the husk, use scissors or a blunt knife at its thinner edge and work slowly around the seam. Keep the blade pointed away from the kernel. If the shell resists, change your grip rather than forcing the cut through the middle. A nicked kernel may still sprout, but damaging it gives the seedling a harder start. Once it’s free, sow it promptly rather than letting it dry out on the counter.
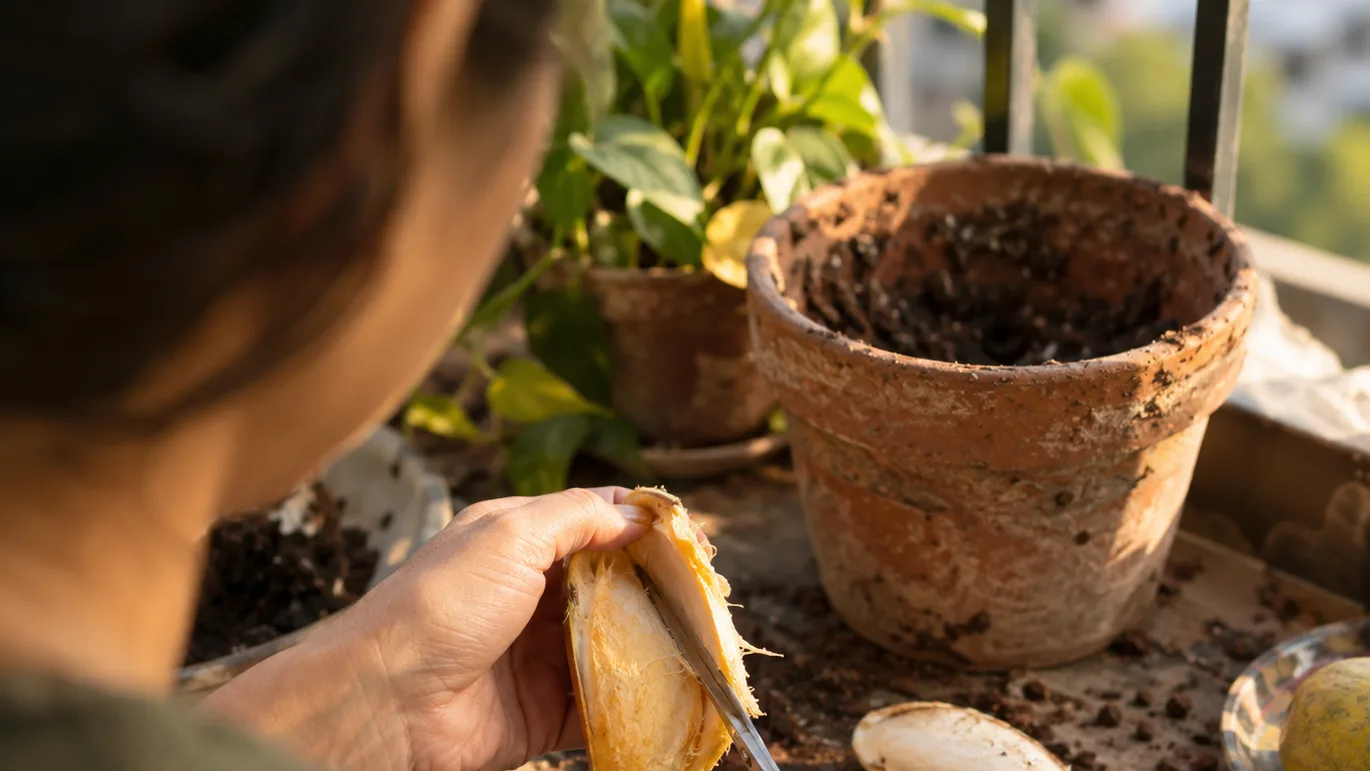
Lay the kernel on its side in damp, not sodden, potting mix and cover it lightly. Warmth helps the seed get moving. As a practical watch window, allow around 1–4 weeks for a sprout in warm conditions, but don’t treat day 29 as proof of failure. Seed freshness, handling, and temperature all change the wait. If the mix smells sour or the kernel turns soft and dark, that’s a different signal from a firm seed that simply hasn’t emerged yet.
One seed is one uncertain outcome. If you’re attached to the experiment, prepare more than one kernel if you have access to fresh fruit, then keep only the strongest seedling. That’s a sensible hedge, not a guarantee: grocery fruit can contain kernels that don’t establish well.
Give the first root room: a deep, draining starter pot
A deep 1-gallon (3.8-L) pot with drainage holes is a workable starting point for one mango kernel. I’d choose depth and stability over a broad, shallow decorative bowl: the seed and its first roots need room below the surface, and a light top-heavy pot can tip as the shoot grows. Treat that size as a practical starting specification, not a universal requirement. A smaller seed or a narrow windowsill may call for a different container, provided it has enough depth and open drainage.
Use a loose potting mix made for containers. Set the kernel on its side, cover it lightly, and leave a little space below the rim so you can water without spilling soil. Water until excess drains from the bottom, then empty any saucer. A pot without open holes can hold water around the seed and roots even when the surface looks dry.
Skip the gravel layer. Water moves through a potting mix according to the difference between the fine mix and the larger spaces below it; a coarse layer at the bottom doesn’t pull water out of the mix above. It can instead leave a wetter band higher in the pot, reducing the depth of mix that roots can use. Put drainage holes at the bottom and use one consistent, airy mix through the pot.
If you want to picture the setup, imagine a clear path from the seed down through loose mix to open holes, with no gravel shelf interrupting it. The useful question isn’t “How much stone should I add?” but “Can excess water leave, and can air return to the mix afterward?”
Sun and warmth set the pace
Aim for about 6–8 hours of direct sun where your space can provide it. A bright windowsill that gets only a short stretch of direct sun may keep a seedling alive, but growth is likely to be slower and less compact than in a genuinely sunny spot. A balcony or patio lets you move the pot to follow the light; indoors, a grow light can help when the window is dim, though it won’t make a cold, drafty corner suitable.
Watch the stem. If it lengthens quickly while the leaves stay small and far apart, the plant is reaching for more light. Move it toward a brighter position gradually rather than shifting a sheltered seedling straight into intense midday sun; leaves that formed indoors may scorch while they adjust.
Warm conditions support active growth. Keep the young plant away from cold drafts and don’t leave it outside when nights are turning chilly. A sunny window can still be cold at the glass, so check the spot after dark rather than judging it by the warmth of the room at noon. For broader planning on growing tropical plants indoors, compare the constraints with growing avocado from seed and growing citrus in containers; both make winter light and indoor space part of the growing decision.
Water by the mix, not the calendar
Keep the seed and young roots evenly moist while the kernel is establishing, not waterlogged. Once the seedling is growing, feel the upper 1–2 in (2.5–5 cm) of mix before watering. If that layer is still damp, wait and check again. If it has dried and the pot feels lighter, water thoroughly until some runs out of the holes.
There isn’t a useful fixed schedule for every mango pot. A small plastic pot in wind and direct sun can dry much sooner than a larger glazed pot in part shade. Heat, pot material, root growth, and air movement all change how quickly moisture leaves. Check the mix itself instead of copying someone else’s number of days.
When a pot stays too wet, the mix can smell stale, remain heavy, and leave lower leaves yellowing or limp. When it dries too far, the mix may pull from the pot edge and leaves can droop or develop dry margins. Those symptoms can overlap, so check the soil before reacting: adding water to a persistently soggy root ball makes a drainage problem worse. If the mix is wet for a long stretch, check the holes, saucer, and potting mix before changing your watering routine.
For a worked balcony example, suppose your seedling is in a one-gallon plastic pot on a breezy, sunny ledge. I’d check the mix each day during a hot spell, but I wouldn’t automatically water each time I looked. In a shaded, heavier glazed pot, I’d still check by touch, just with less expectation that it needs water at the same interval. The check is routine; the watering decision depends on what your fingers find.
When roots reach the edges, move up one pot size
Roots showing through drainage holes or a root ball that holds the pot’s shape are better reasons to repot than a date on the calendar. One root poking out is a clue, not an emergency. If the plant wilts soon after watering, dries unusually quickly, or comes out as a dense mass of circling roots, check whether it has outgrown its container.
Move up roughly 2–4 in (5–10 cm) in pot width at a time. Keep the root ball intact, set it at its previous soil level, fill around it with fresh mix, and water it in. A huge jump can leave a lot of unused wet mix around a small root system. That extra volume dries slowly, so the roots may sit damp long after the old root ball would have needed watering.
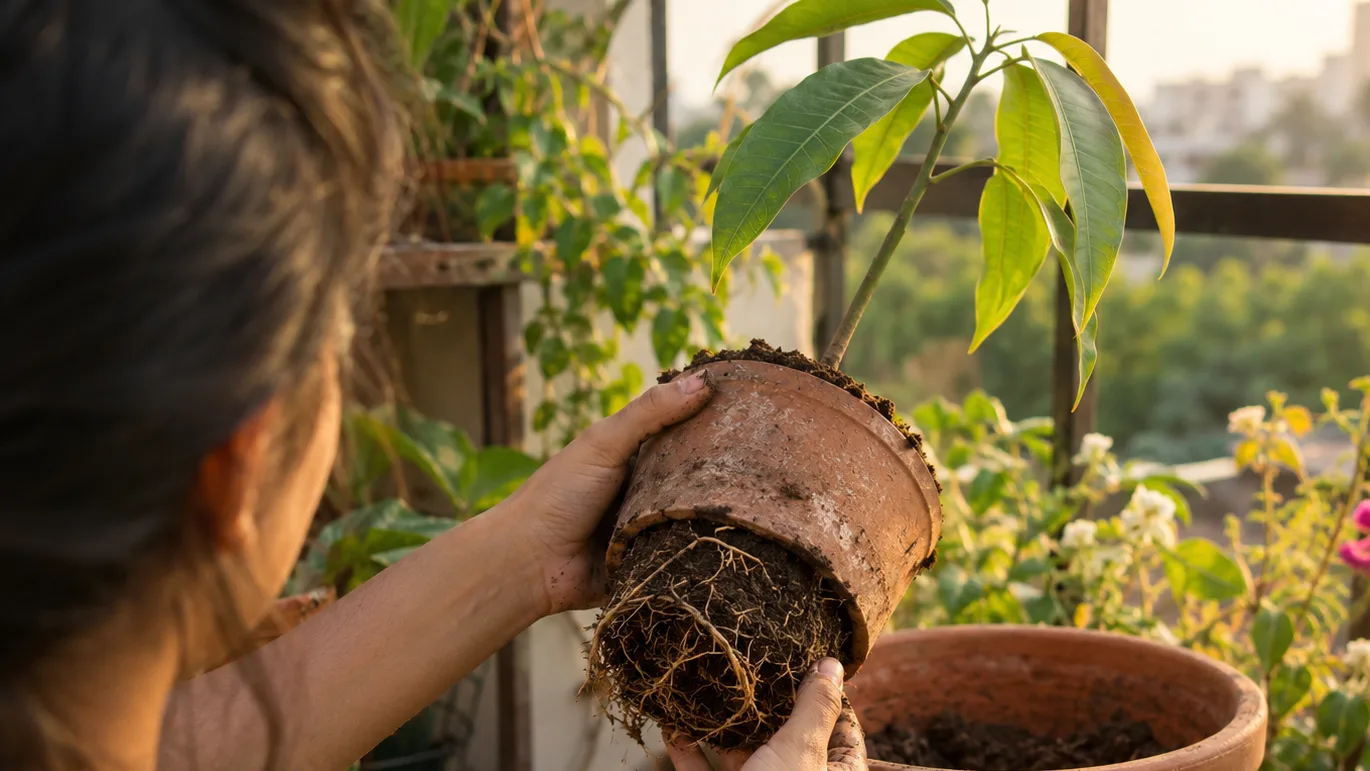
Feed only when the plant is actively growing, and follow the fertilizer label for container use rather than improvising a stronger dose. A dormant, cold-stressed, or recently disturbed seedling is a poor candidate for extra feeding: fertilizer doesn’t solve low light, damaged roots, or saturated soil. If new leaves are emerging and the plant is otherwise settled, a label-directed feed is a more reasonable next step.
For a small balcony, this is where I’d make the choice explicit: move it up only when roots and drying behavior support the move. Don’t buy a giant pot simply because the plant might become a tree someday. Your future space, winter light, and ability to shift the container matter as much as its eventual root room.
The first winter indoors is a light-and-cold test
If your mango has spent summer outside, bring it in before cold nights become a problem. Around 50°F (10°C) is a useful conservative cue to start planning the move, not a universal damage threshold. Local conditions and the plant’s exposure matter, so check current university extension guidance on mango temperature if you need a firm local decision.
Before carrying it indoors, look under leaves and around stems for small pests. A sudden move from outside can bring insects into the house, and indoor warmth can let them continue feeding. Give the plant a quick rinse if needed, let the pot drain, and place it where it can get the brightest available light without sitting against cold glass.
Water less often in winter if growth slows and the mix takes longer to dry. Don’t use a calendar to force summer watering habits onto a plant receiving less light. At the same time, don’t let the root ball turn bone dry for a long stretch. Check the mix, lift the pot if that helps you judge its moisture, and let the surface begin to dry between waterings.
A sunny window may not provide enough light to keep a mango compact through short, dim days. If the new growth becomes long and weak, that is a light problem to solve, not a reason to feed harder. A grow light can be useful if you’re willing to make the plant an indoor fixture for the season; if not, a smaller, slower seedling may be the more realistic winter outcome.
Fruit is a long-term maybe
Think in years, not seasons. Seed-grown mangoes are often discussed in a broad range of roughly 5–8-plus years before flowering under favorable conditions, but that is a planning horizon, not a deadline or a promise. A plant kept indoors with limited direct light, restricted roots, or cool conditions may take longer or never flower in that setup. It can also grow beautifully as foliage without producing fruit.
A seedling may not produce fruit like the mango you ate. The seed’s offspring can differ from its parent, so a grocery mango’s flavor and size don’t tell you exactly what a seedling’s fruit would be. A grafted tree is a different proposition: it is grown from selected plant material joined to a root system, which is why a named cultivar is a more predictable choice for fruit characteristics. That doesn’t remove the need for suitable light, space, and conditions.
The small-pot plan and the fruit plan eventually diverge. For a foliage plant, keep the container manageable and prune with the limits of your room in mind. For a patio fruit tree, expect to move toward a substantially larger container and to give it much stronger light than most indoor windowsills provide. There is no single mature pot size that can guarantee fruit; tree vigor, pruning, climate, and the space you can actually offer all change the answer.
My judgment: grow the seed if the pleasure is watching it sprout and making room for a tropical-looking plant. If you mainly want mangoes to eat, don’t let the seedling’s first flush of leaves persuade you that a small pot has solved the fruiting problem. It has only started the project.
Before the weekend, check your warmest bright spot for direct sun, then choose a deep pot with clear drainage holes and a bag of container mix. If you already have a sprout, feel the top layer of mix today and look beneath the pot for roots before deciding what it needs next.